Third Saturday Online: 3D Landscapes
Some artists use the canvas to give the illusion that you are looking through a window into a landscape. Let’s see how they make the painting look three-dimensional by exploring how they compose their paintings. Then create your own 3-D landscape with paper and scissors.
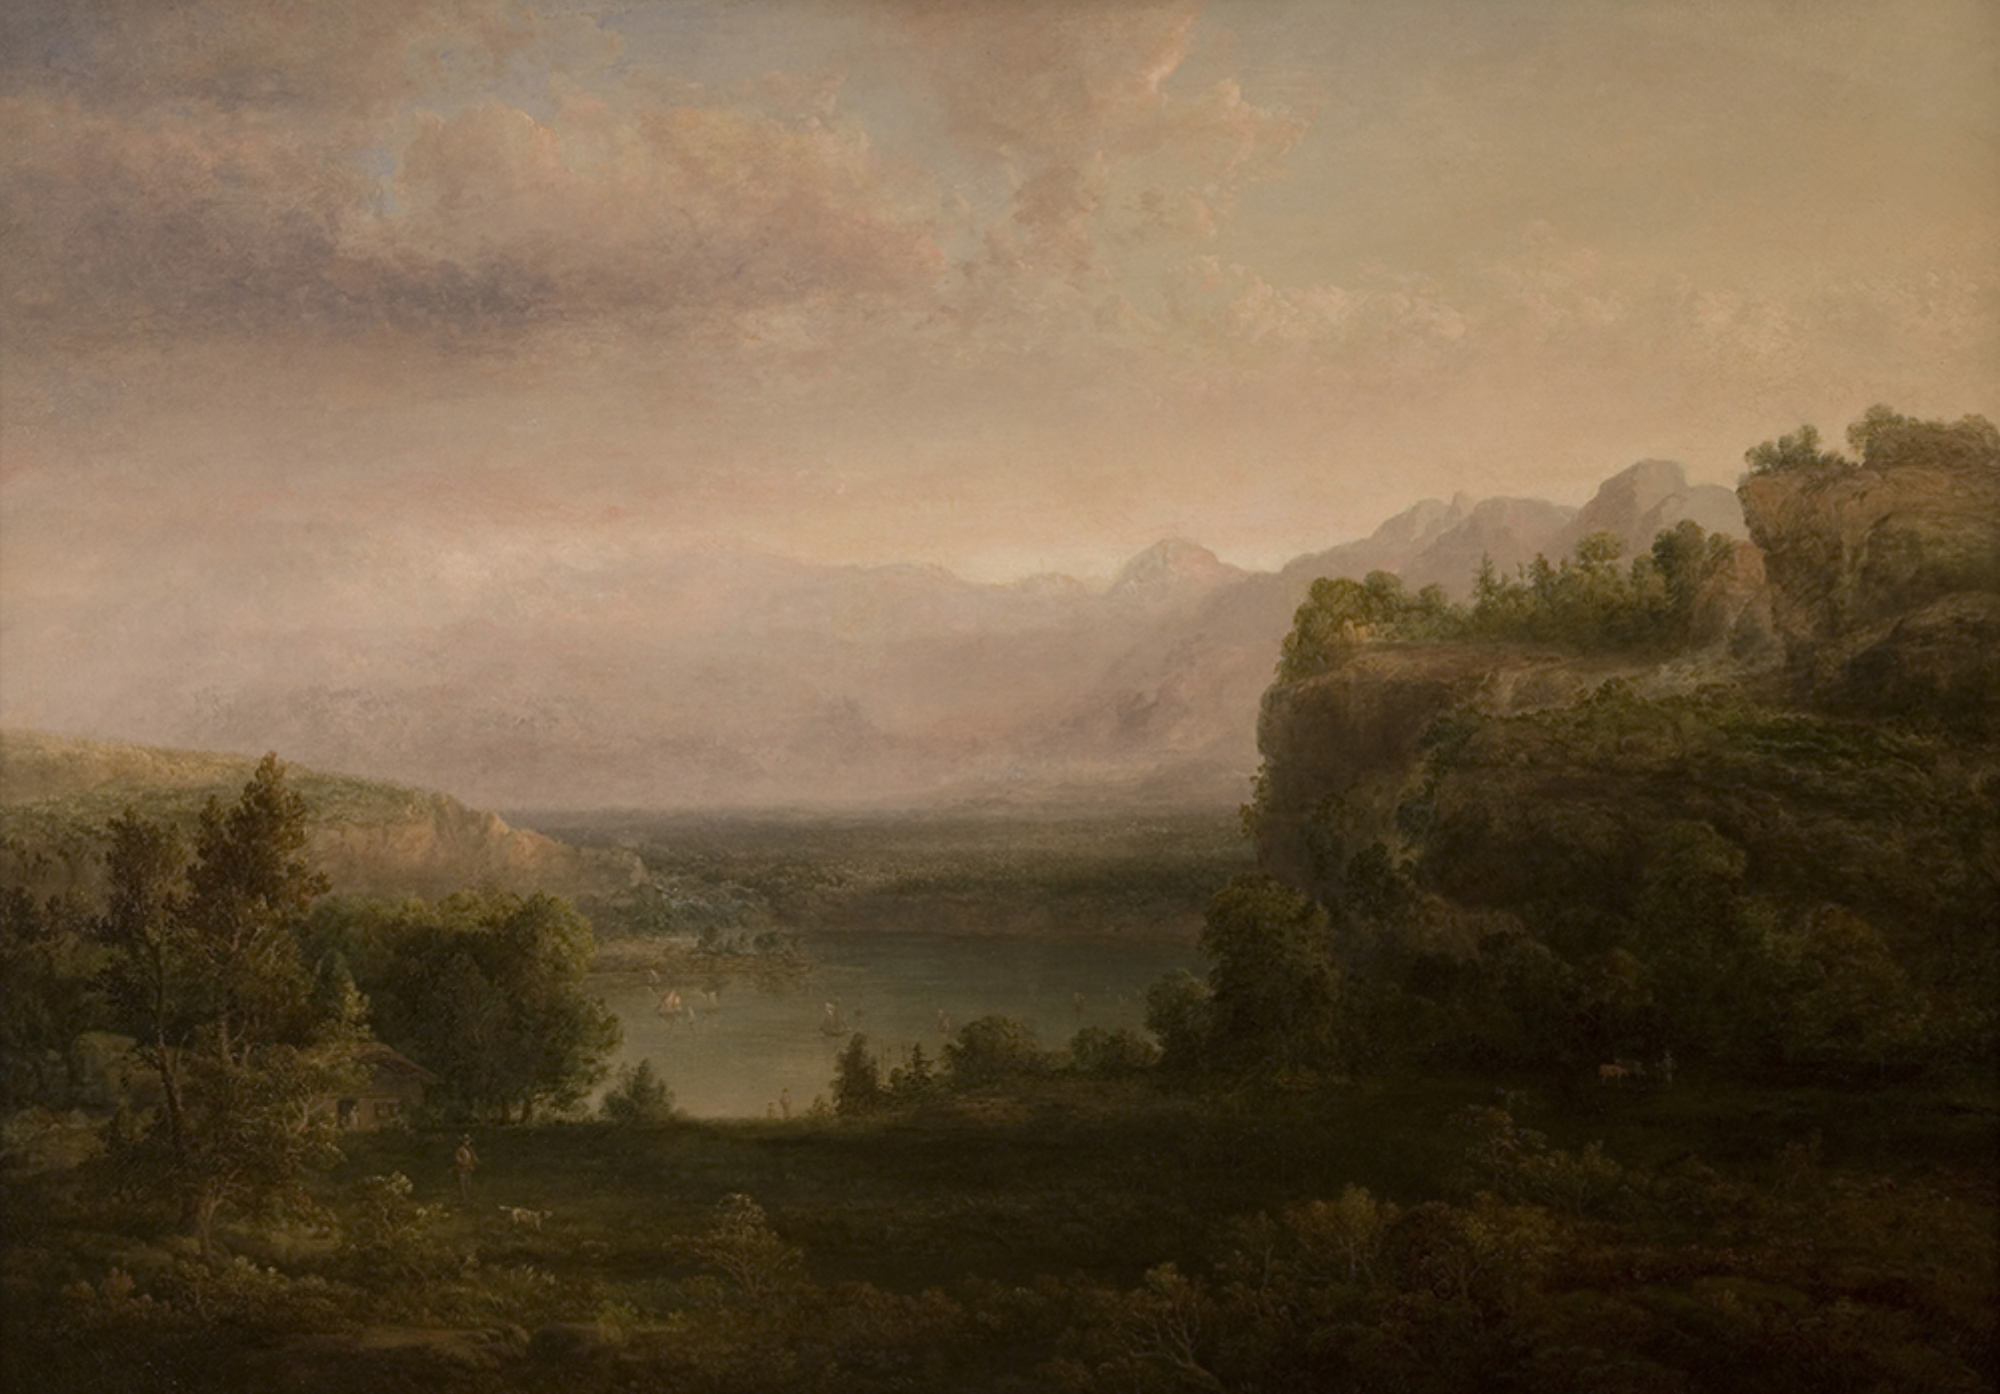
Purchased with funds from the Marriner S. Eccles Foundation for the Marriner S. Eccles Collection of Masterworks, UMFA1984.059
Artists can make it look like you are seeing far into the distance in a painting by creating depth. They paint objects larger and closer to the front edge of the painting and small objects near the top of the painting or behind other things. These places are called the foreground and background. Objects or people in the middle are in the middleground. In this painting by John Doughty, what objects are in the foreground, middleground, and background? Which object looks the furthest away? Why do you think that object looks so far away?
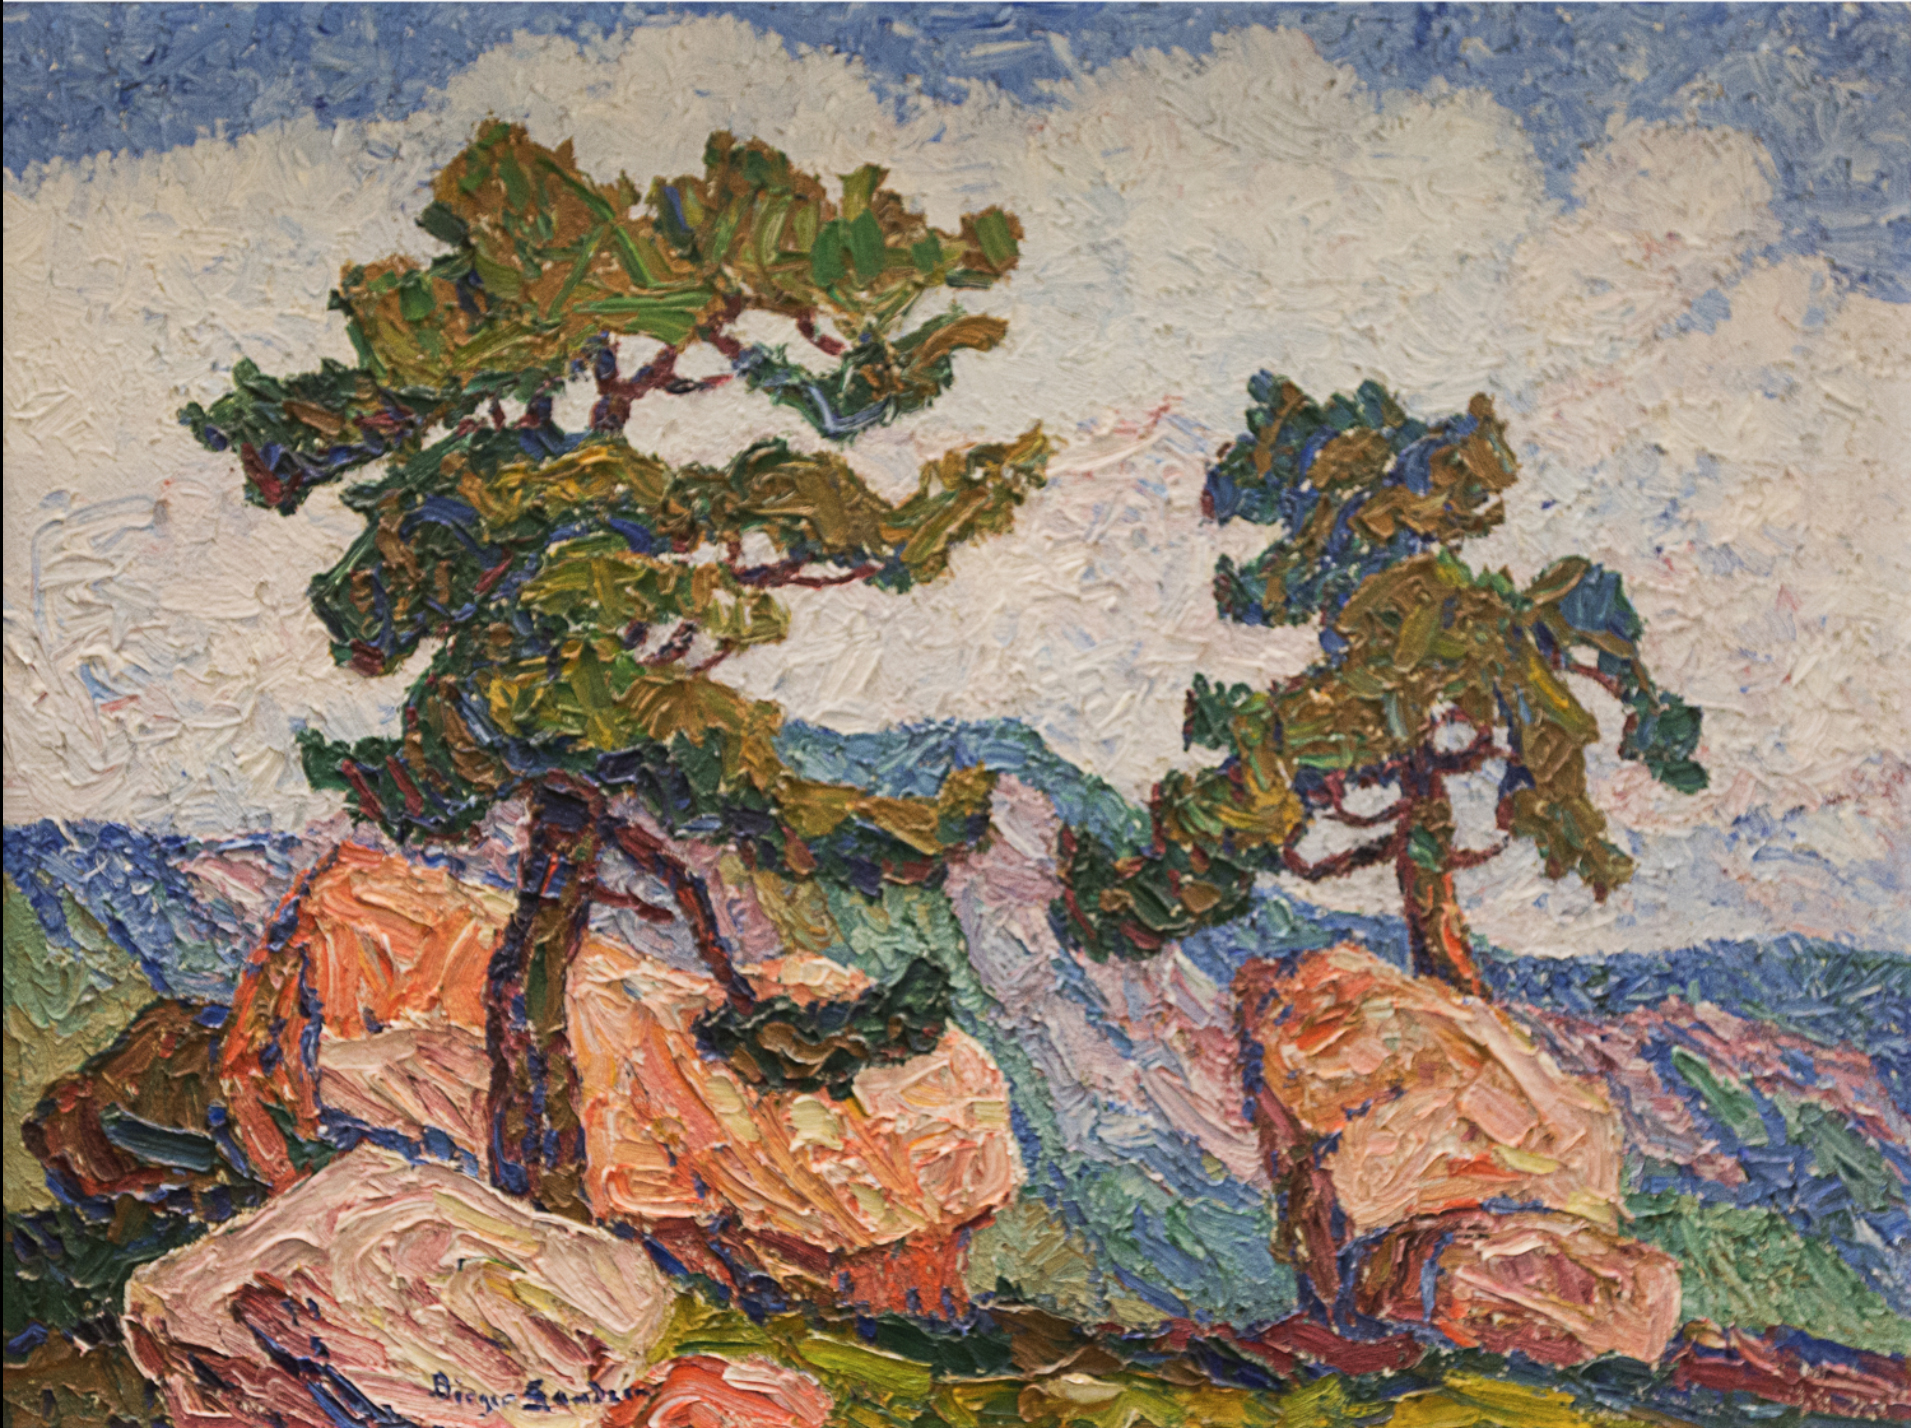
Gift of Mr. and Mrs. J. D. Stewart, UMFA2017.4.1
Even though this painting is more colorful and abstract with thick paint on the surface, it still has the illusion that you are looking at a landscape through a window. In this composition, what is in the middleground and background? Sometimes the background can be so far in the distance it is the sky! Think about what you want to put in your landscape’s foreground, middle, and background. What type of landscape are you thinking about creating: a desert, a jungle, a snowscape? Or something completely new?
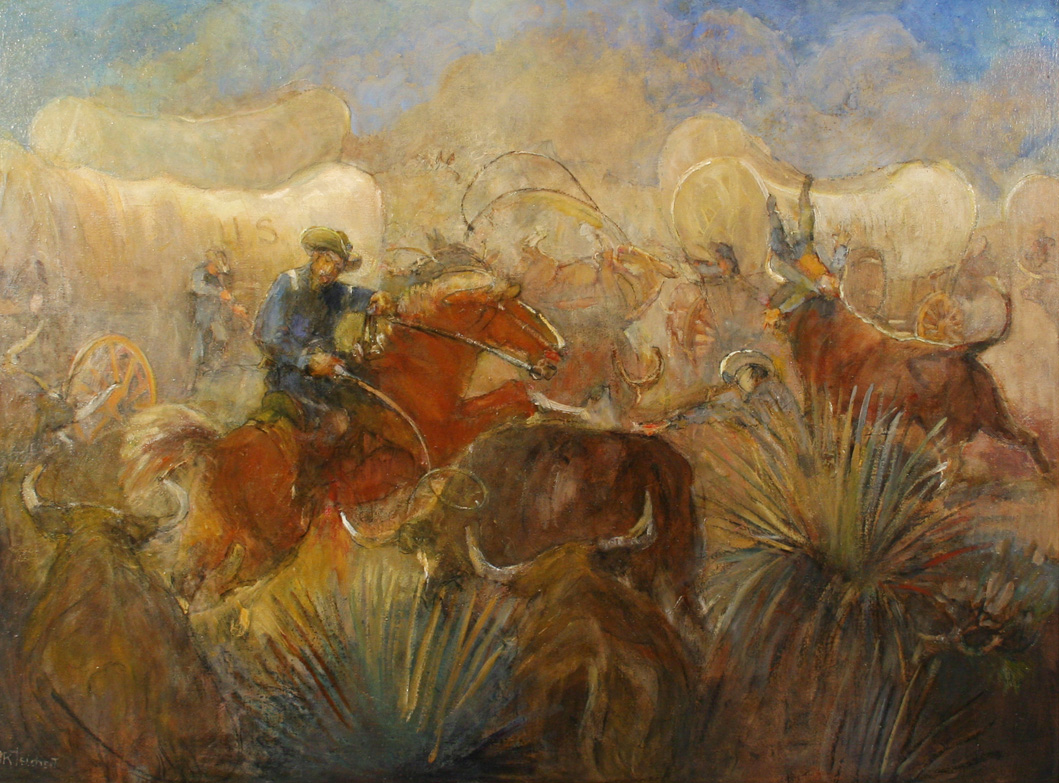
Purchased with funds from Jack and Mary Lois Wheatley and a gift from Bernard Simbari, M.D., UMFA2004.2.1
This landscape also has a lot of action and things going on. What is happening here? Artists usually put the most important details of their artwork in the foreground or middleground. How would the story in this painting change if the covered wagons were in the foreground instead of the background? In your landscape, what objects will you put in the foreground, which in the background? How could moving these objects backward or forward change your landscape?
Making 3-D Landscapes
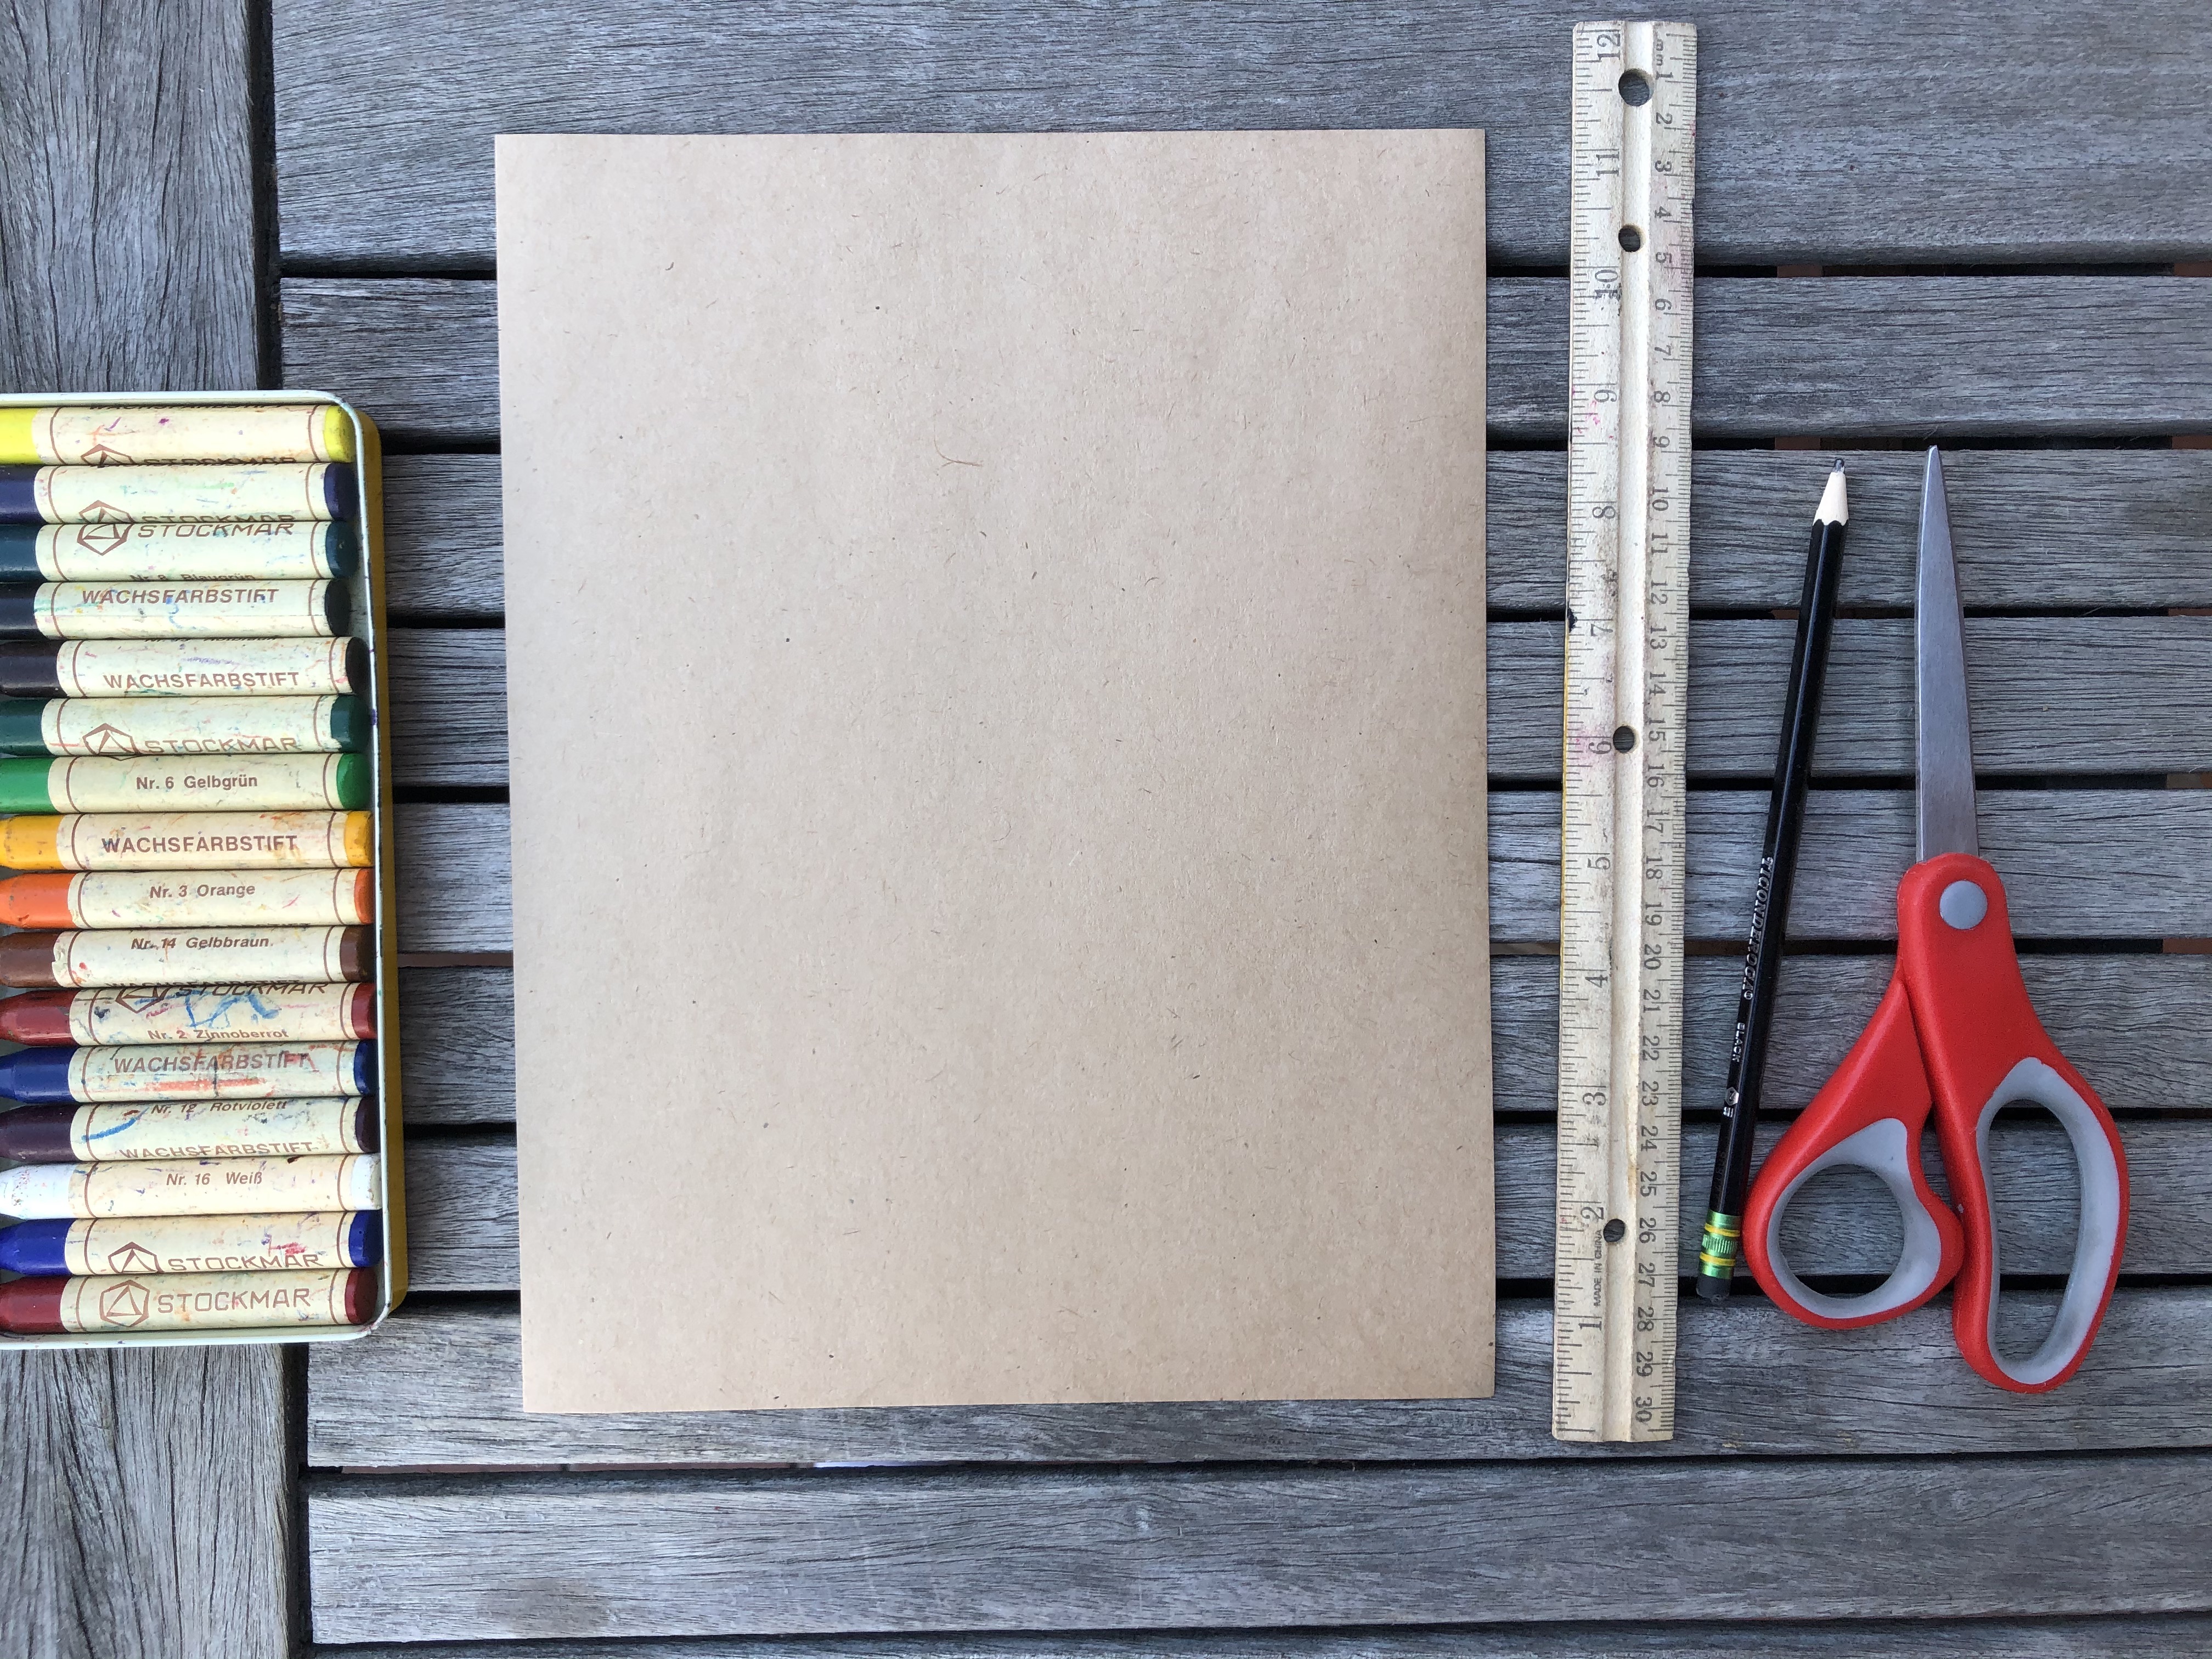
You will need:
- A piece of paper 8.5” x 12” heavy paper like cardstock works best but regular printer paper works fine too
- Ruler
- Scissors
- Pencil
- Optional colored pencils or crayons
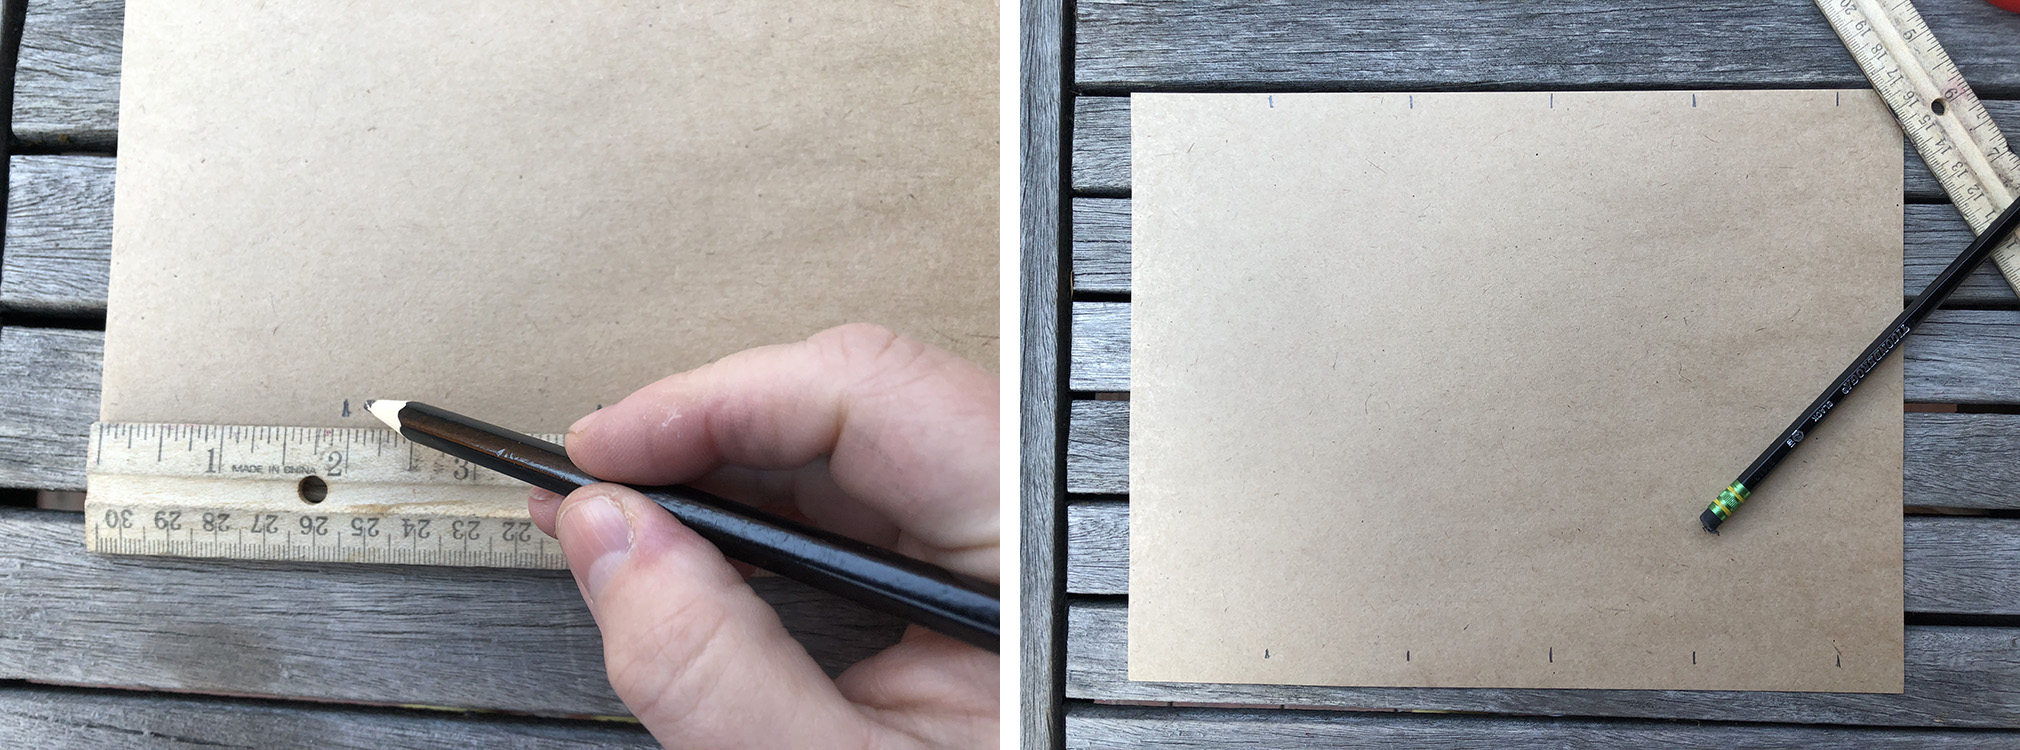
Directions:
1. With a ruler, measure along the long side of your paper every 2”.
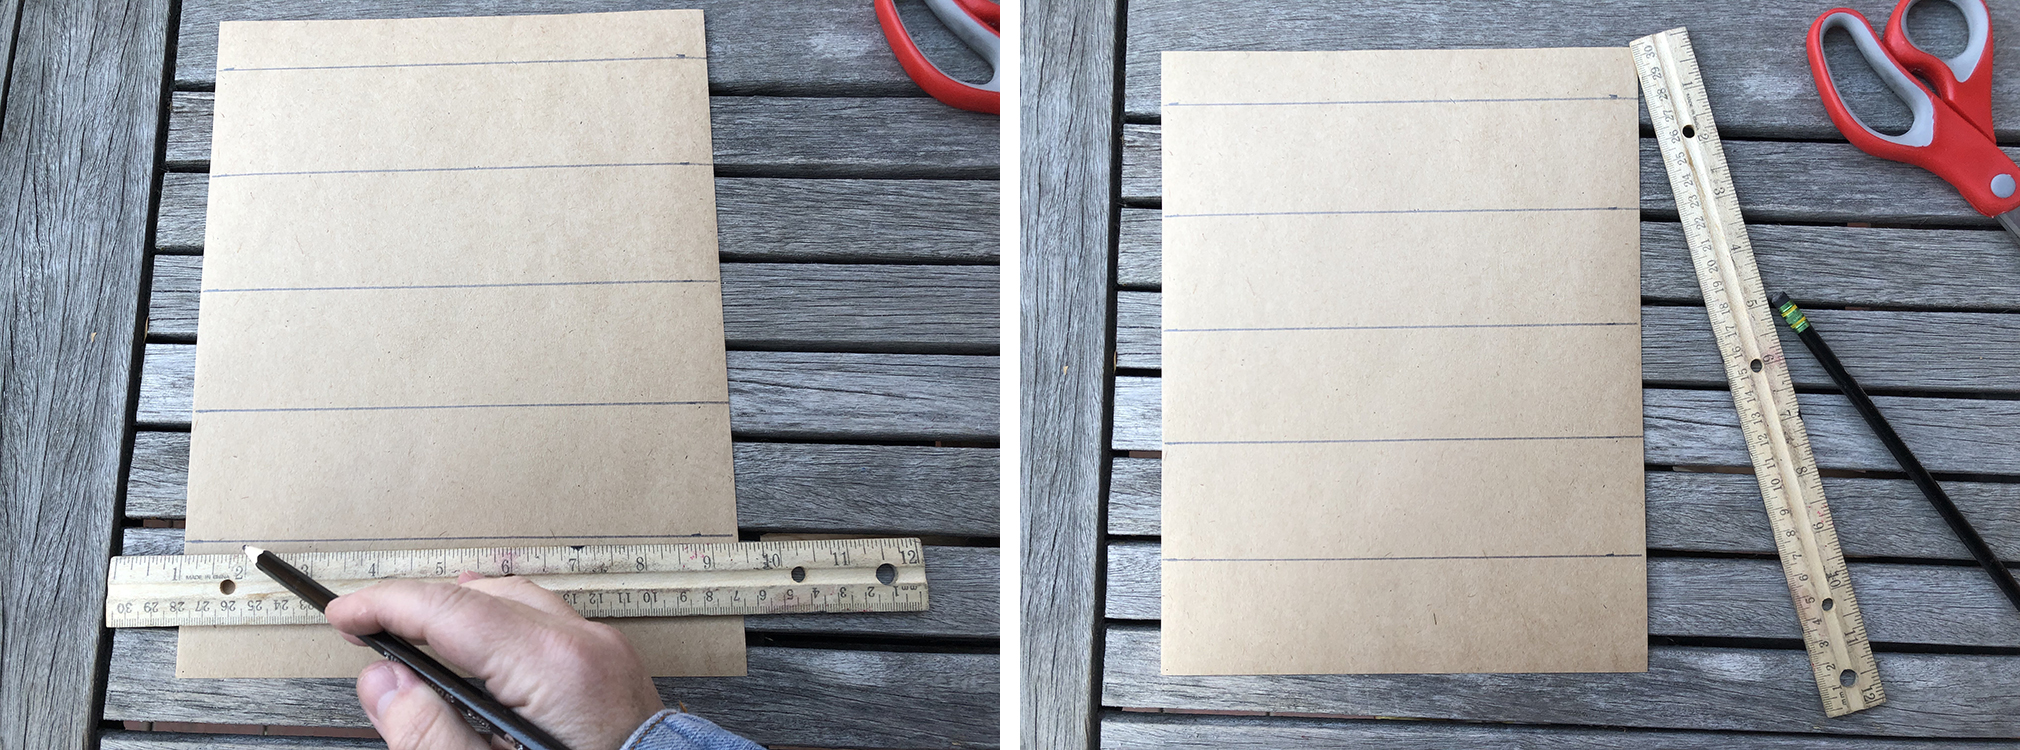
2. Do the same on the opposite long side and draw a line between them. This gives you 5 sections that are 2” and one section that is about 1.5”.
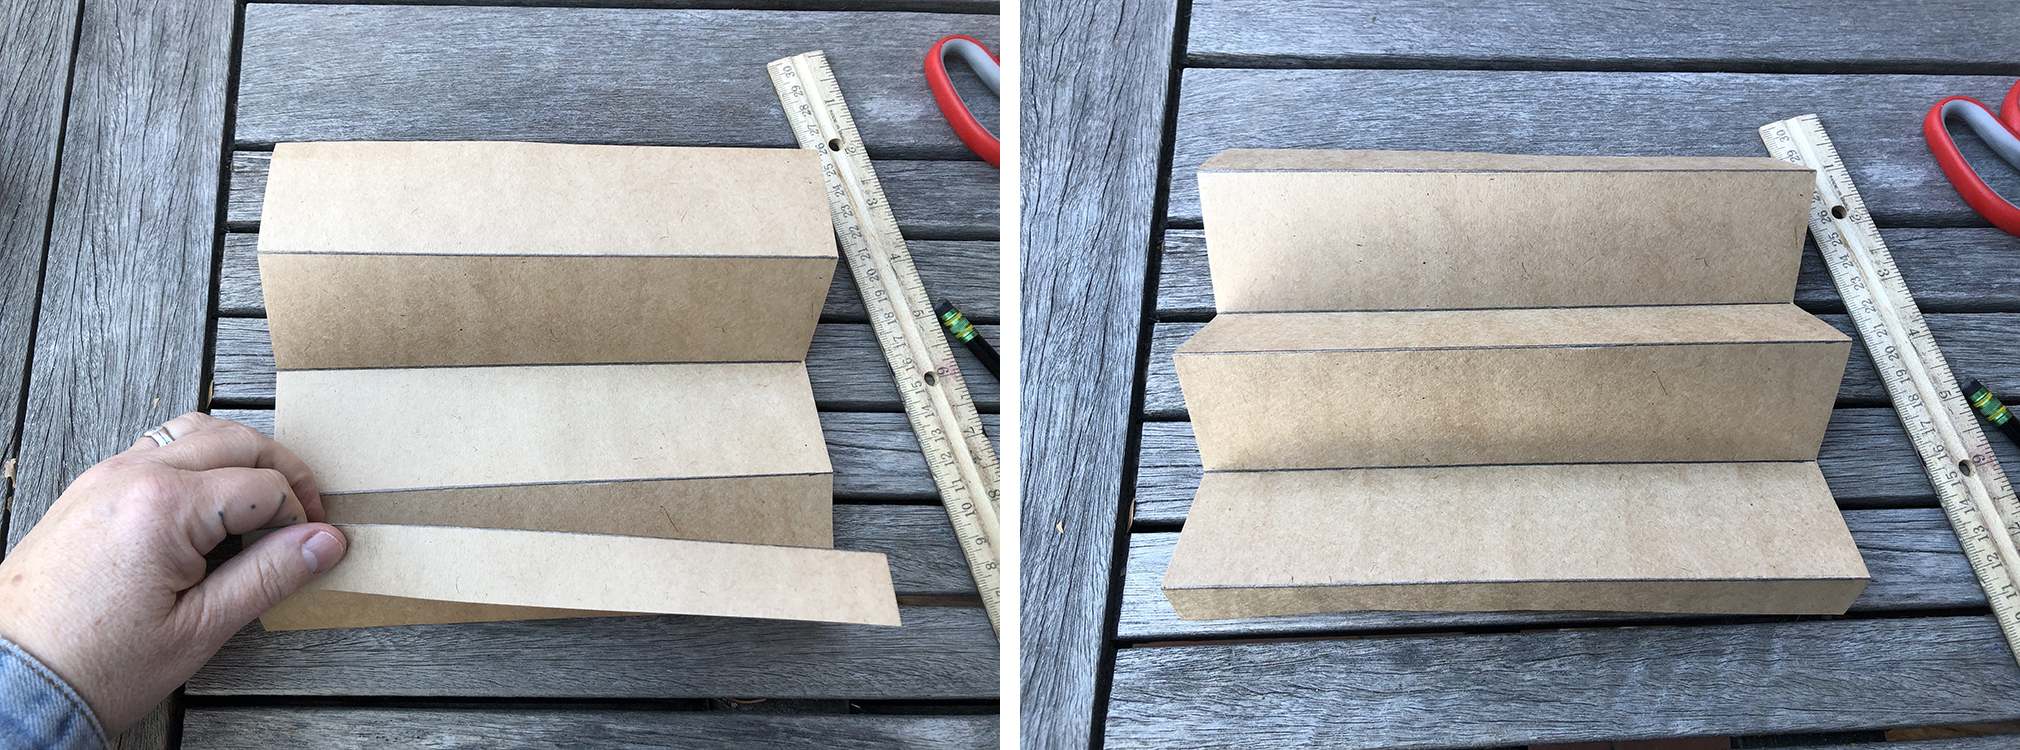
3. Fold along these lines. Begin by folding the first line so the fold is pointing up like a mountain. Then the next fold pointing down like a valley. Keep folding like an accordion until you have folded all the lines alternating up and down. You should have three folds pointing up and two folds pointing down.
4. Position the paper with the small 1.5” section closest to you. This is the foreground. The middle fold pointing up is the middleground and the farthest fold pointing up is the background.
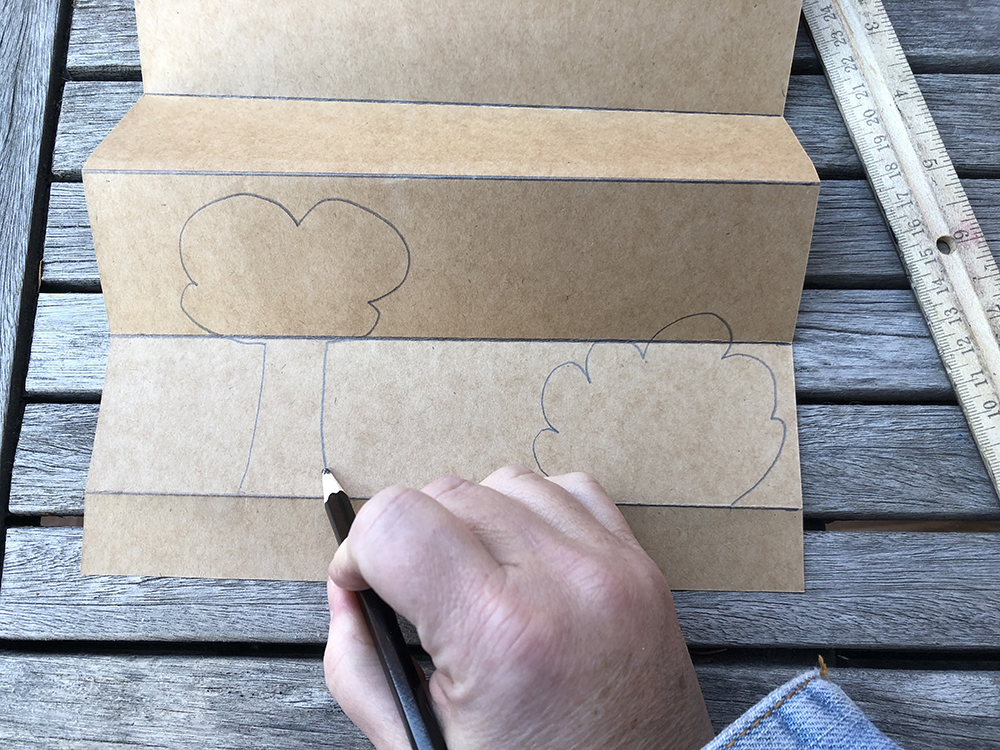
5. Now you can draw your landscape. Choose what objects you want in the foreground and draw them with their base resting on the first fold pointing up. Your objects can go through the fold pointing down if you want. It works best if you can make big simple shapes so they are easier to cut out.
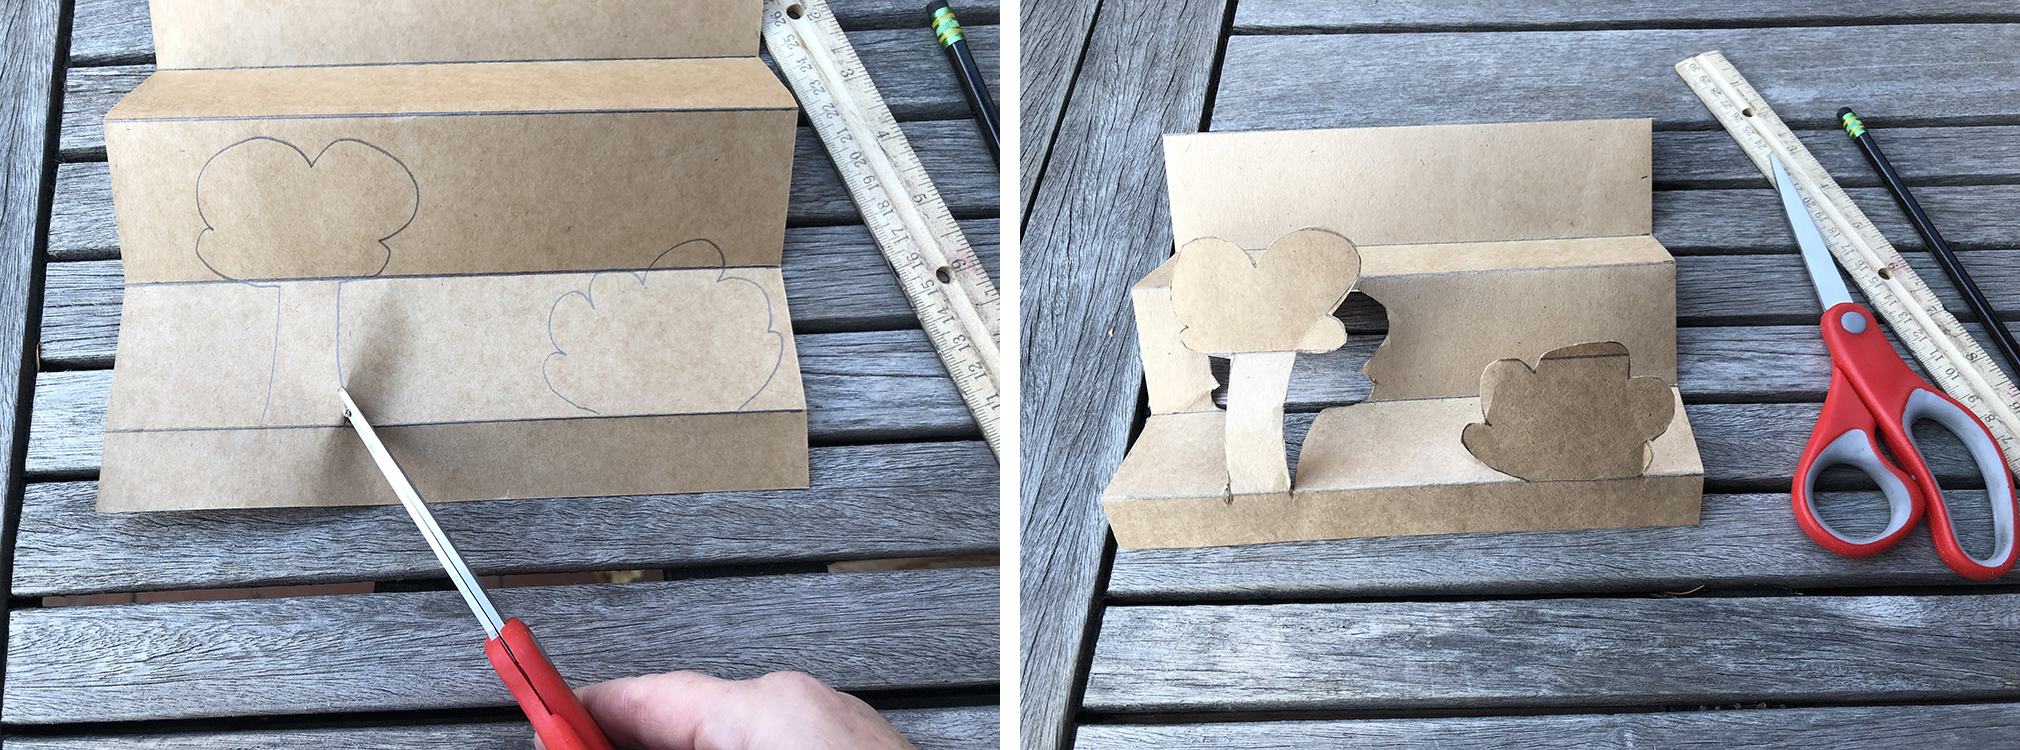
6. Next cut out the shapes of the foreground. Cut them without cutting through the sides of your paper. You might have to poke a hole on the edge of your object to get started.
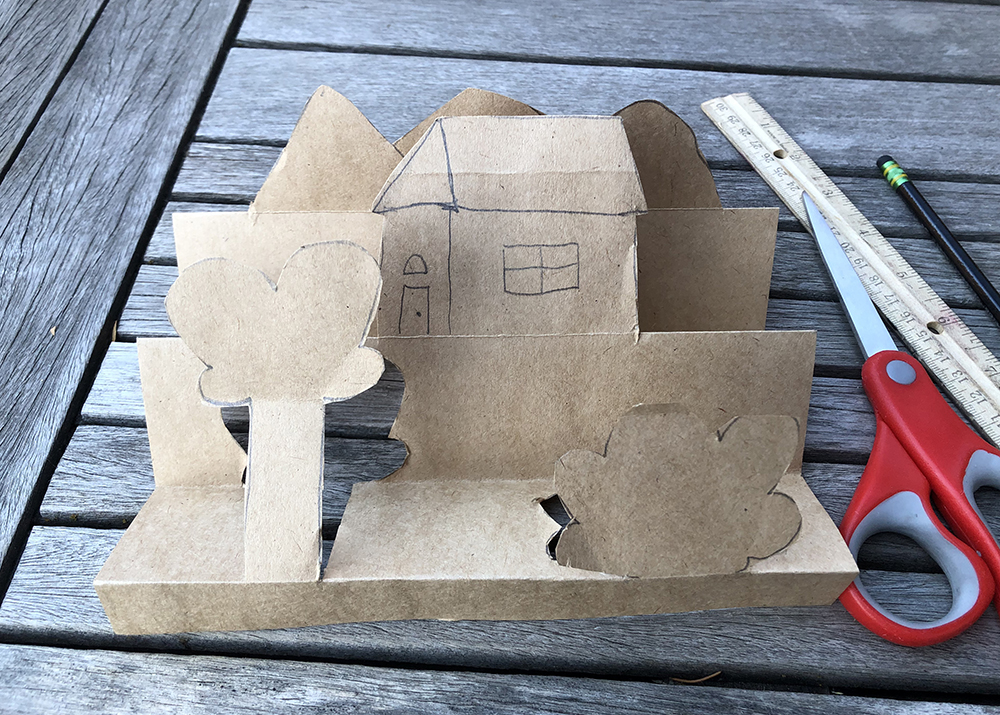
7. Do the same thing for the middle ground and background using different objects that you want in your landscape.
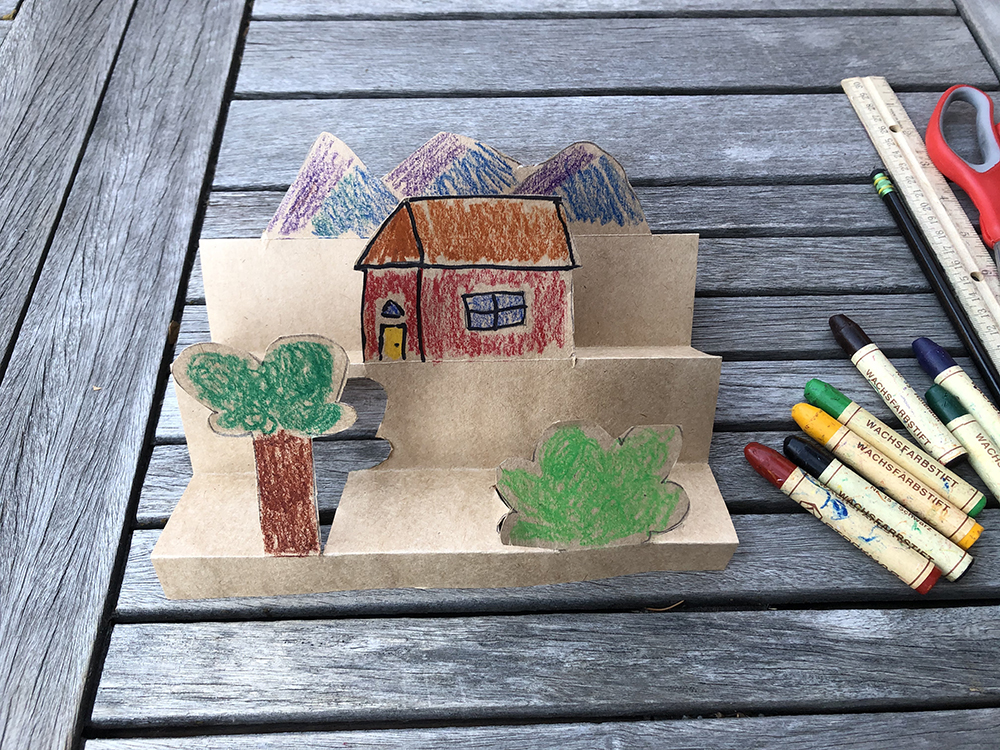
8. When you are done you can color your 3-D landscape if you would like. Now you have a beautiful artwork that shows depth in a landscape!

Third Saturdays are funded by Salt Lake County Zoo, Arts & Parks
Thank you for visiting the UMFA online. We hope you have enjoyed this content. Community support makes all of the work we do possible, including this type of virtual experience. If you wish to see more offerings like this, and ensure the future of the Museum, please consider making a donation today.
We wish you, your family, and loved ones the very best during these difficult times.
Thank you!
