Third Saturday: Bird Puppets
Japanese art is back on display in our galleries! One of the showpieces is an intricate moveable raptor sculpture. Learn how this sculpture was made, then create your own articulated bird puppet using materials found at home.
There are many ways to focus on a work of art—for this conversation, we are going to look specifically at how artists depict birds.
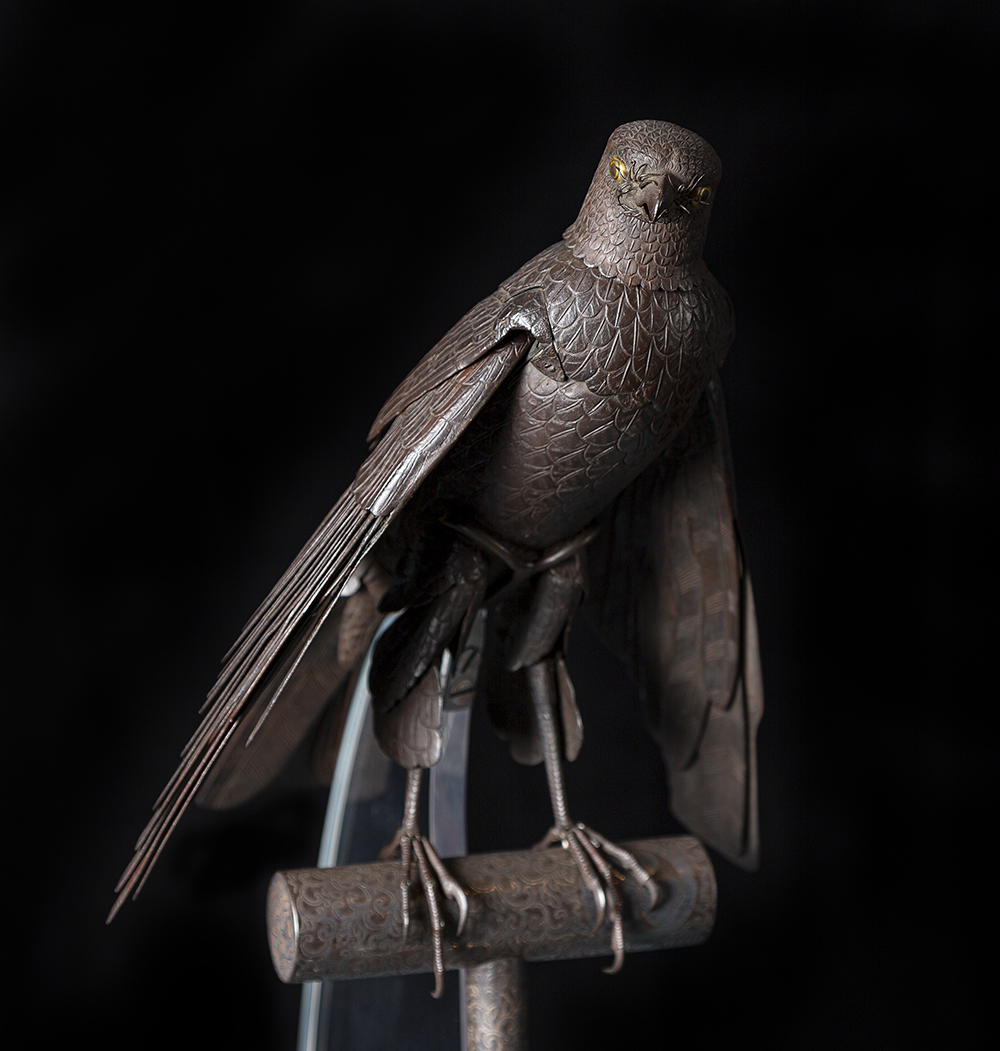
Resting on a perch, this raptor looks ready to take flight. The bird looks lifelike because of its detailed wings and feathers that are articulated, or in other words, they can move. Each feather and wing are made separately then attached with a pin so it can move.
This sculpture is an example of a jizai okimono (object of art). As Japan became more peaceful in the 17th century, samurai warriors became administrators and did not need as much armor. Armorers needed to adapt their skills and began creating these detailed art objects. Skilled armorers created realistic animal figures to give as gifts and to impress clients.
Look closely at the sculpture. Besides its wings, other parts of the bird can move. Do you see where? Imagine moving the sculpture. What would it look like with its wings extended? What part of the bird will you make move in your bird puppet?

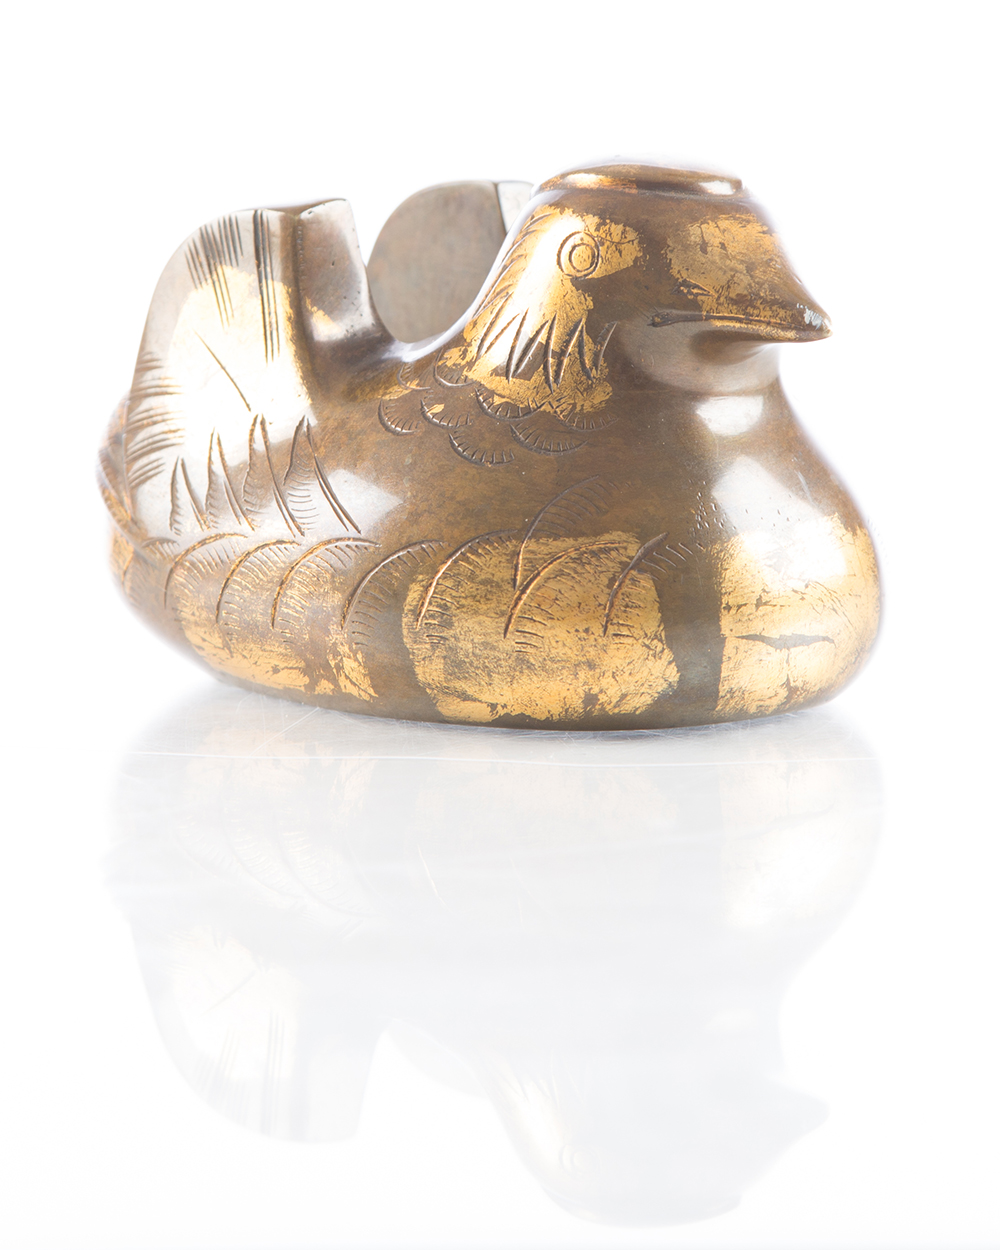
We have other bird artwork from Japan that you could get inspiration from, as well, but this artwork is not on display. This is a small 3”-high brass screen weight used to stabilize painted screens. What bird do you think it is? Where are its wings? If you were to draw this bird, what parts would you articulate or make move?
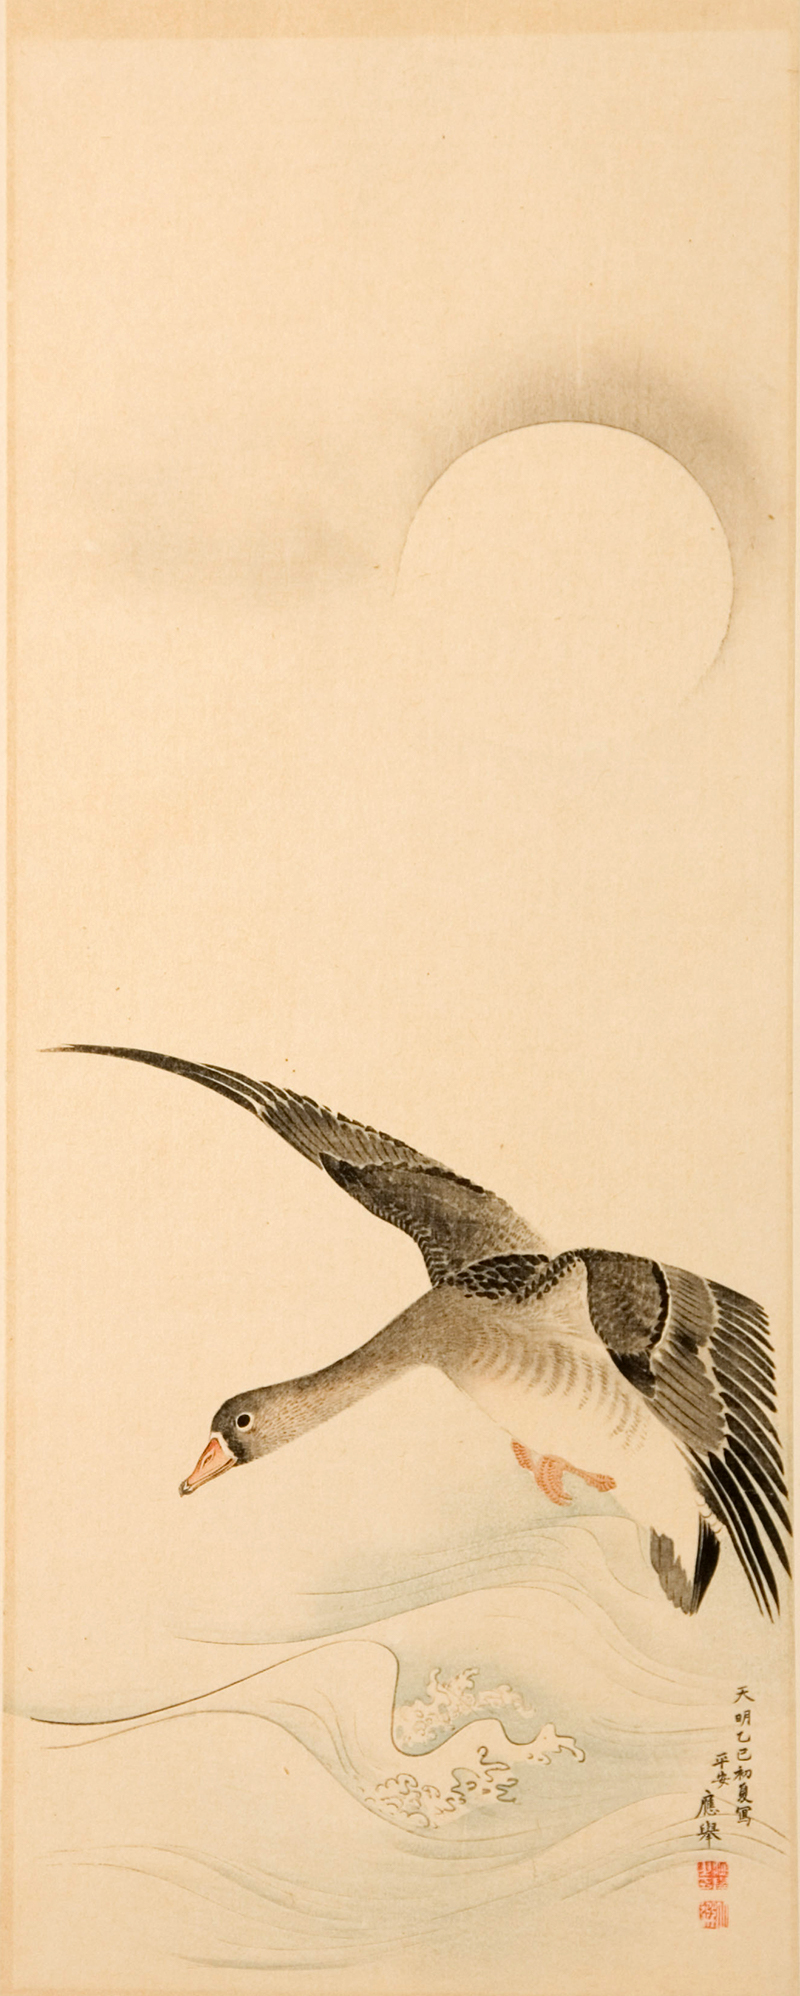
This woodcut of a flying goose is also not currently on display. Look closely at the goose. What shape do its wings make when it is flying? Where are its legs? Notice the line of its neck as it flies over the waves. These careful observations can help you when drawing your own bird puppet. Try making these detailed observations with birds you see in nature.
Make a Bird Puppet
Let’s make a bird puppet that is articulated just like the raptor sculpture.
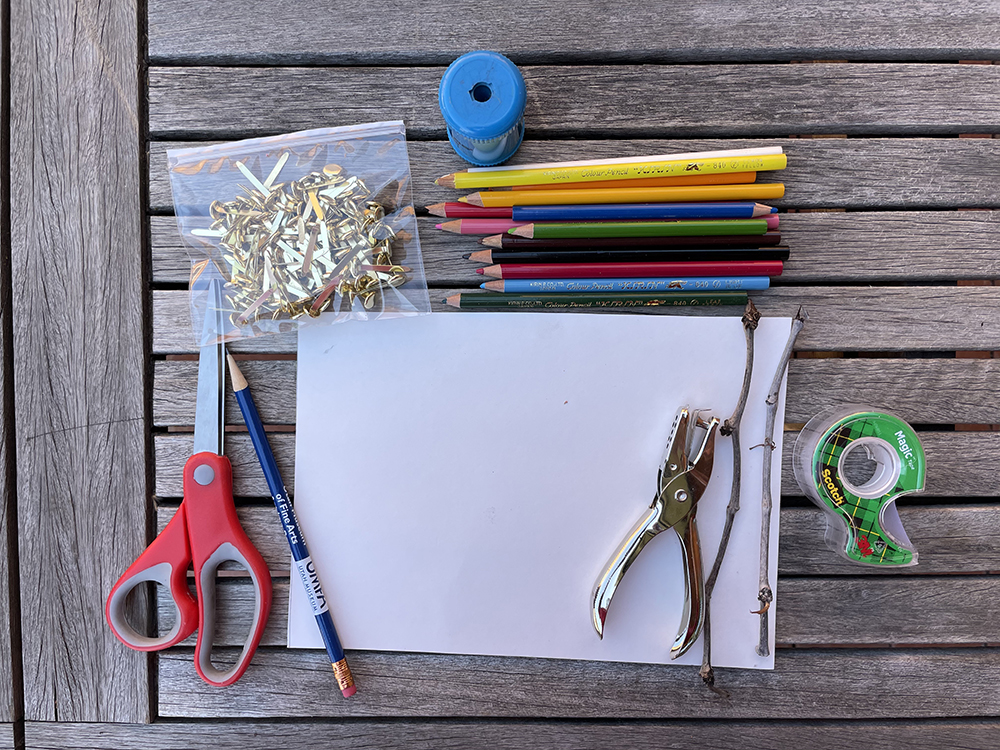
Materials:
- One or more thick pieces of paper like construction paper or cardstock
- Scissors
- Pencil
- Drawing materials like colored pencils, crayons, or pastels
- Brad fasteners
- Hole punch
- Optional stick and tape
Directions
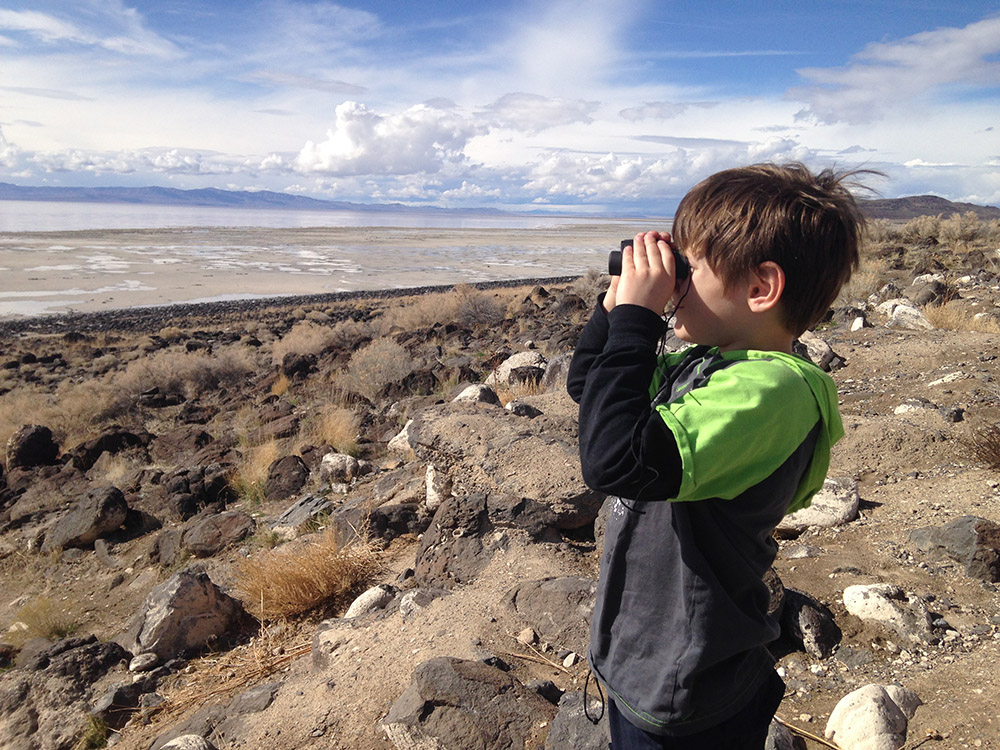
1. Begin by thinking about the type of bird you want to create. The best way is to go outside and look at birds in your backyard! Watching nature is one of the best ways that artists get inspiration. If you wanted to find out more about birds, your local library has many books or you can learn a lot from the National Audubon Society at https://www.audubon.org/bird-guide
2. Next, think about how you want to draw your bird. Will you view it from the front? In profile? From the back? These are questions you need to answer before you begin drawing.
3. Think about what parts of the bird move. Where are the joints? How many moveable parts will there be? You don’t have to have every part that moves on a real bird also move on your puppet. You can keep it simple and just have one or two moveable parts. Or you can make lots of articulated parts on your bird–it is up to you.
4. Draw an outline of your bird’s body on the paper. You will want to draw the movable parts separately because they need to have a little extra on the end in order to overlap with the main body.
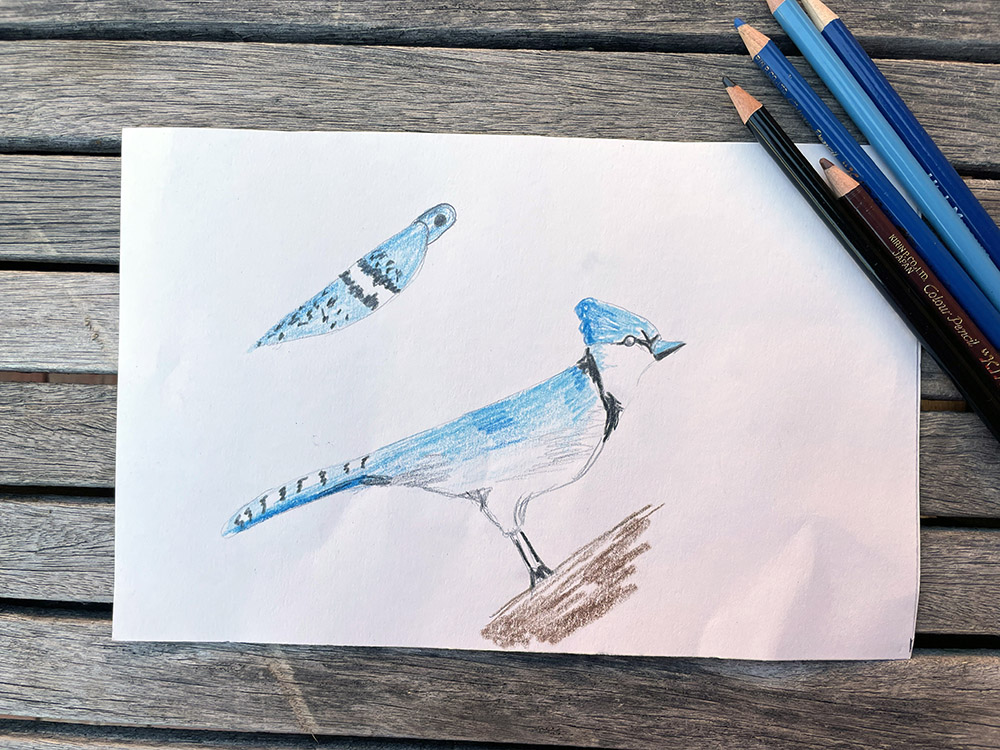
5. Draw any moveable parts. Remember to add a tab where they will connect to the body of the bird.
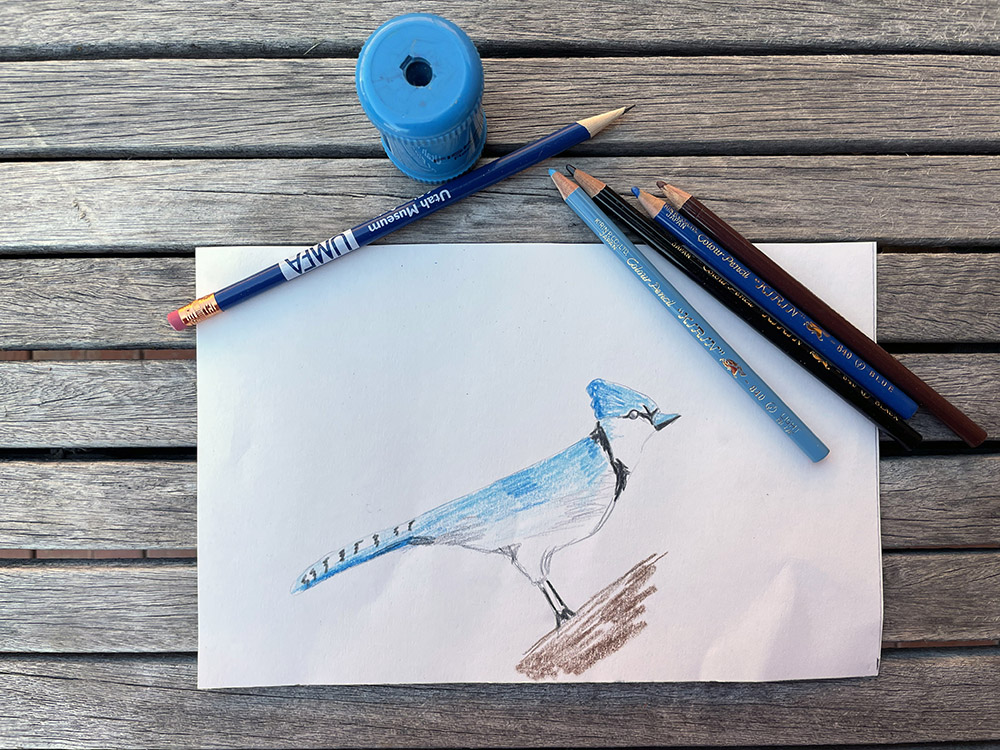
6. Begin filling in detail on your bird. Draw its feathers, beak, and claws. What colors are in your bird?
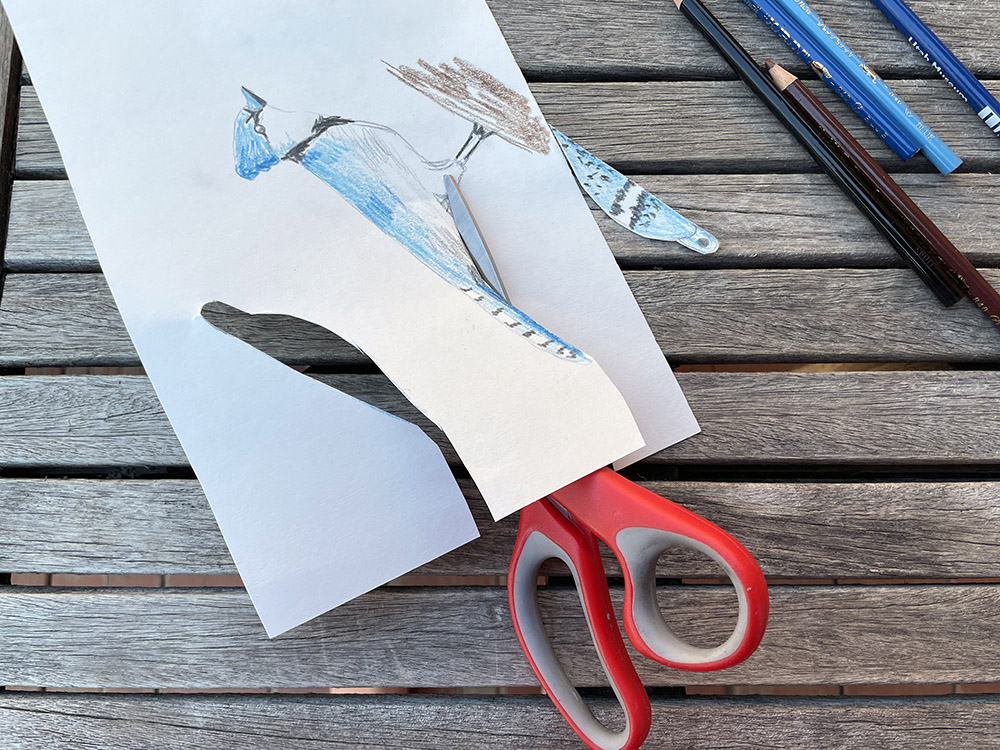
7. Cut out the bird body and all the moveable parts. Remember to leave tabs on the ends of all your moveable parts.

8. Punch holes in the tabs on the moveable pieces and holes on the main body where the pieces connect.
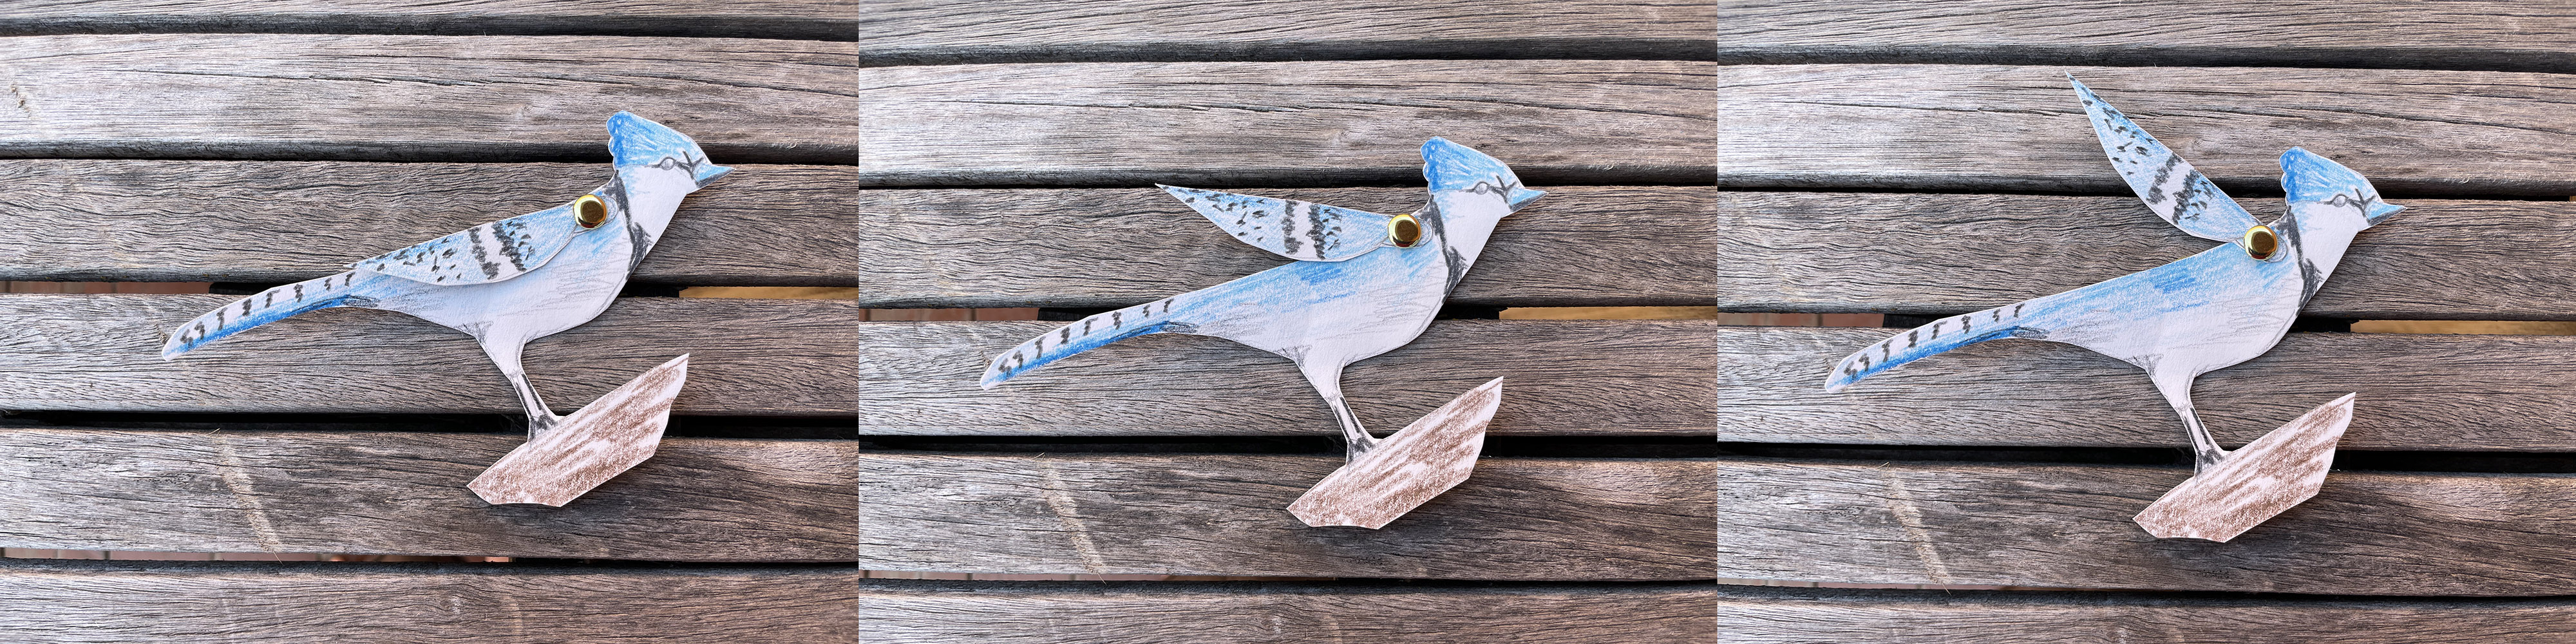
9. Connect the moveable parts to the body using brad fasteners.
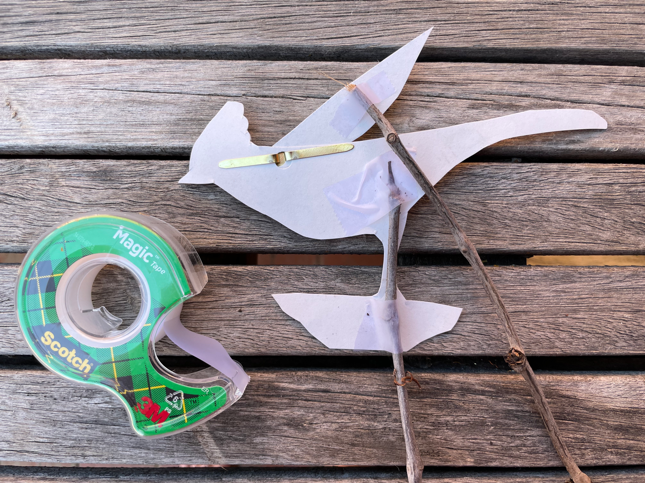
10. If you want to add a stick to hold your puppet. You can tape one on the back. You can get fancy by taping a stick to a moveable part and make your puppet move!
Here are some other ideas for your bird puppet!
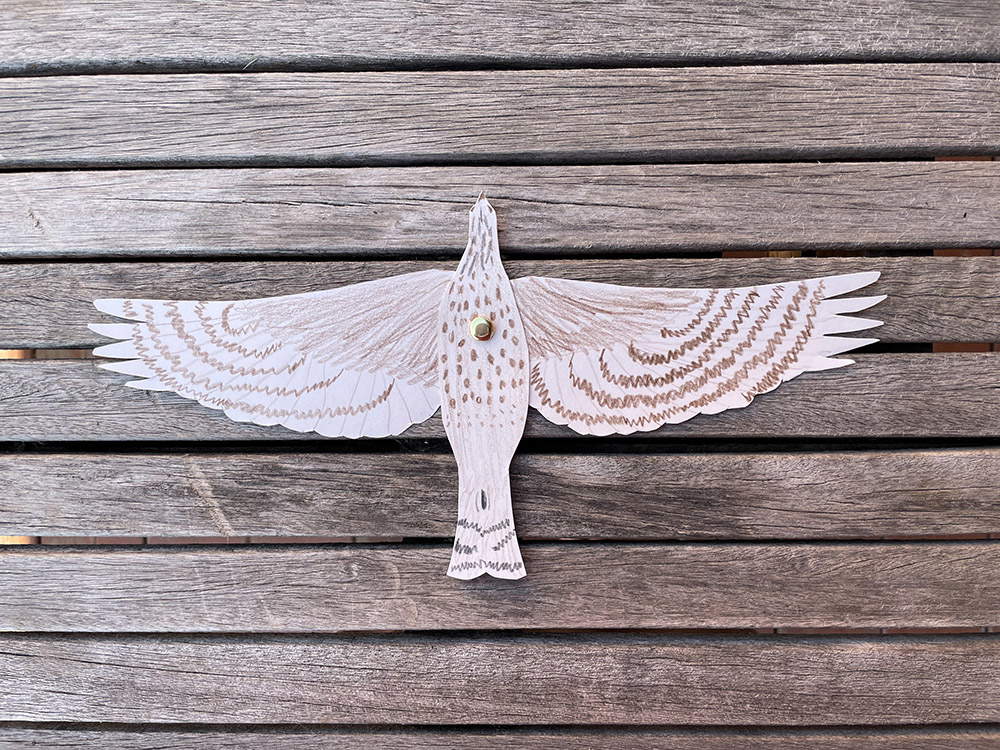
Cooper's Hawk
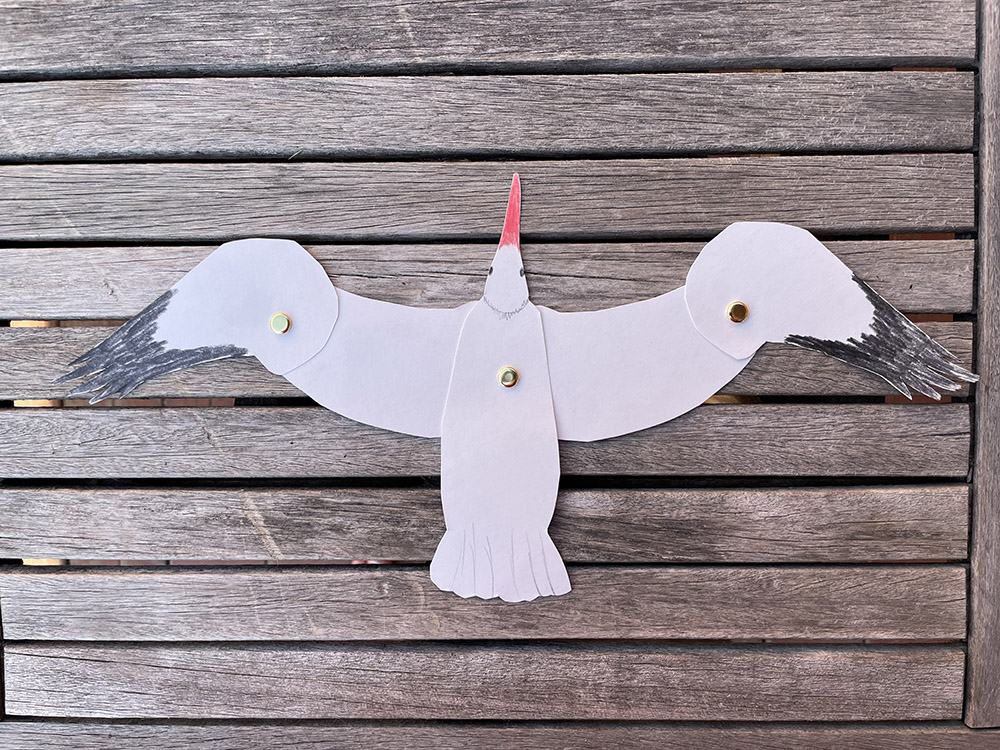
Pelican
Third Saturdays are funded by Salt Lake County Zoo, Arts & Parks