Third Saturday: Make a Kite
The UMFA has a beautiful collection of Japanese woodblock prints. Let’s browse them to look for old favorites as well as find some new ones. The intriguing symbols and intricate designs will inspire you to decorate a kite that will be perfect for flying throughout the spring.
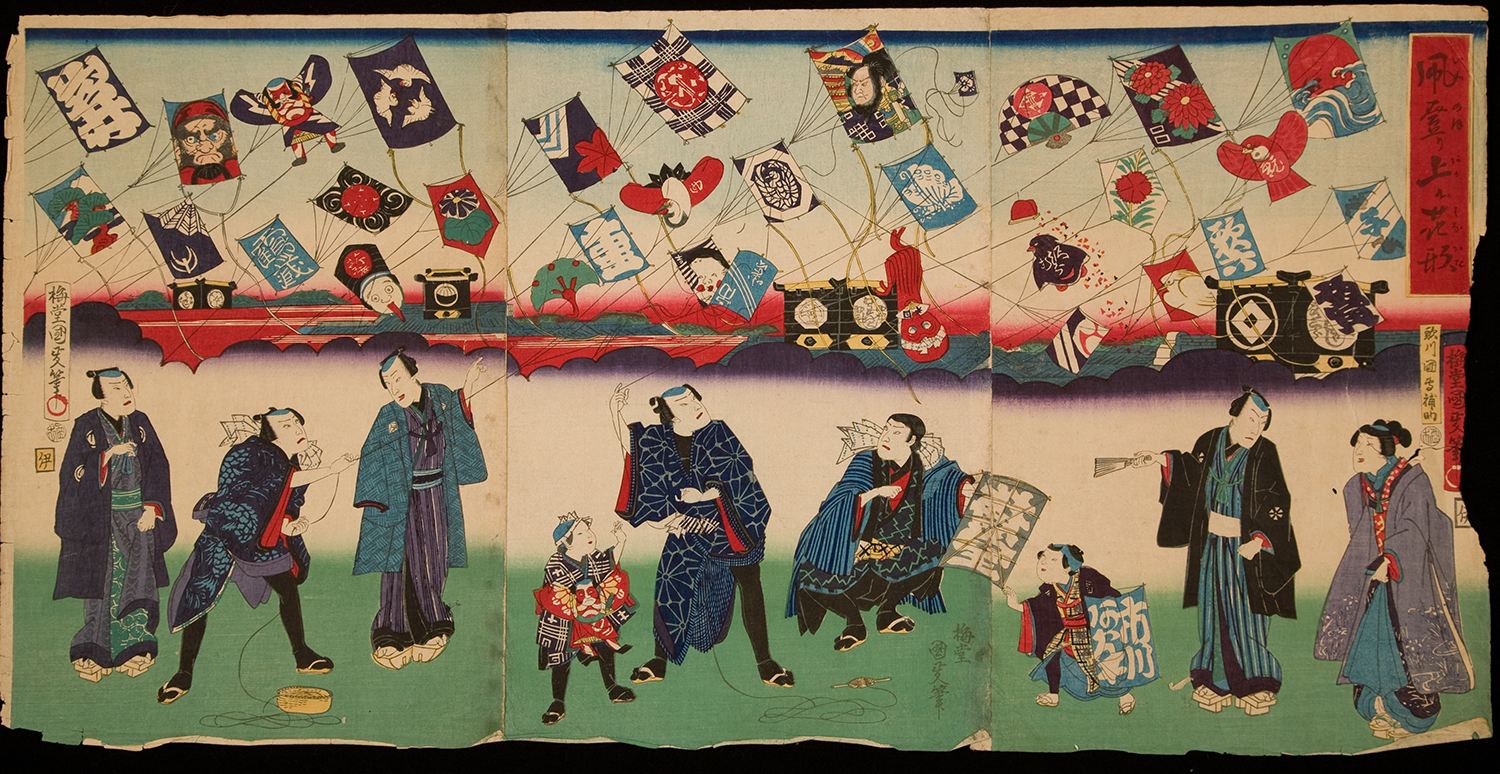
What is the first thing you notice in this woodblock print? There are many patterns shown on the kites as well as on the people’s clothing. What is the pattern that catches your eye first? Think about what pattern or picture you will make on your own kite. Think about the scale (or size) of your pattern. How big will it have to be so you can see it high up on a kite?
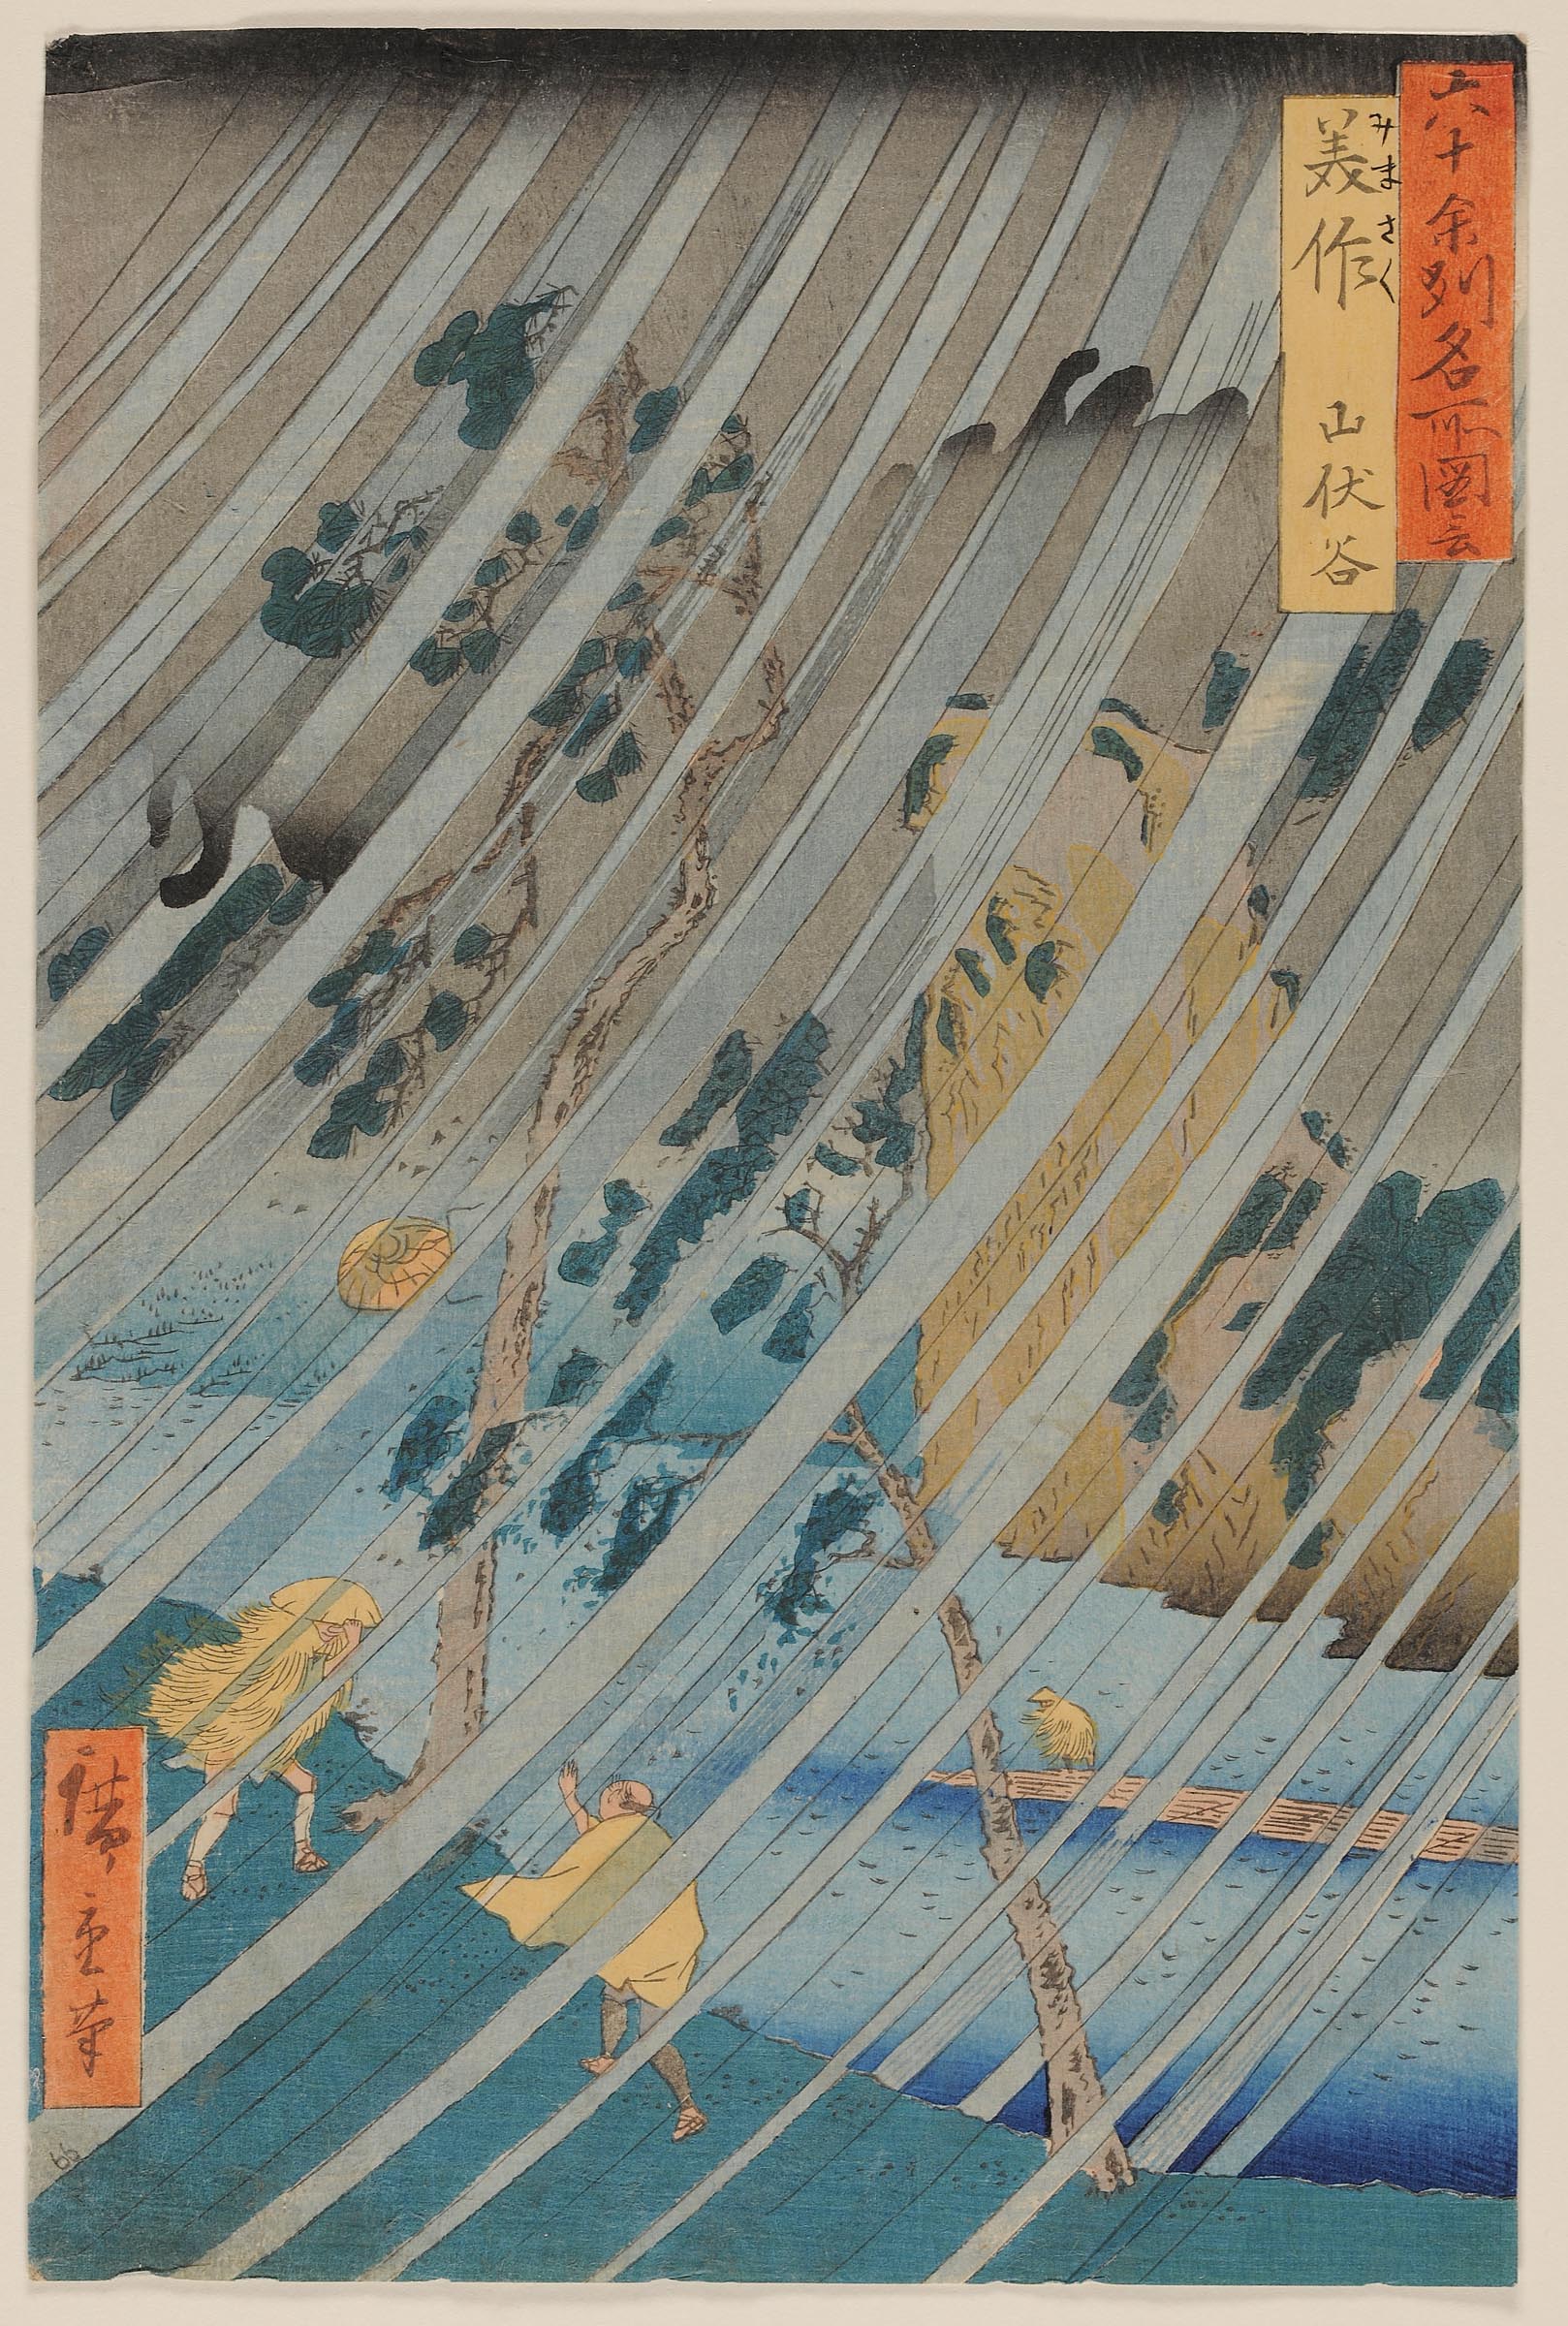
Look closely at this print. What is the weather like? How do you know? What direction is the weather coming from? A pattern can give us clues about what is happening in the landscape and can suggest that something is moving in the print. Think about drawing a pattern that shows movement on your kite, something like stripes, or zig zags, or diagonal lines. It might even look like it is flying faster!
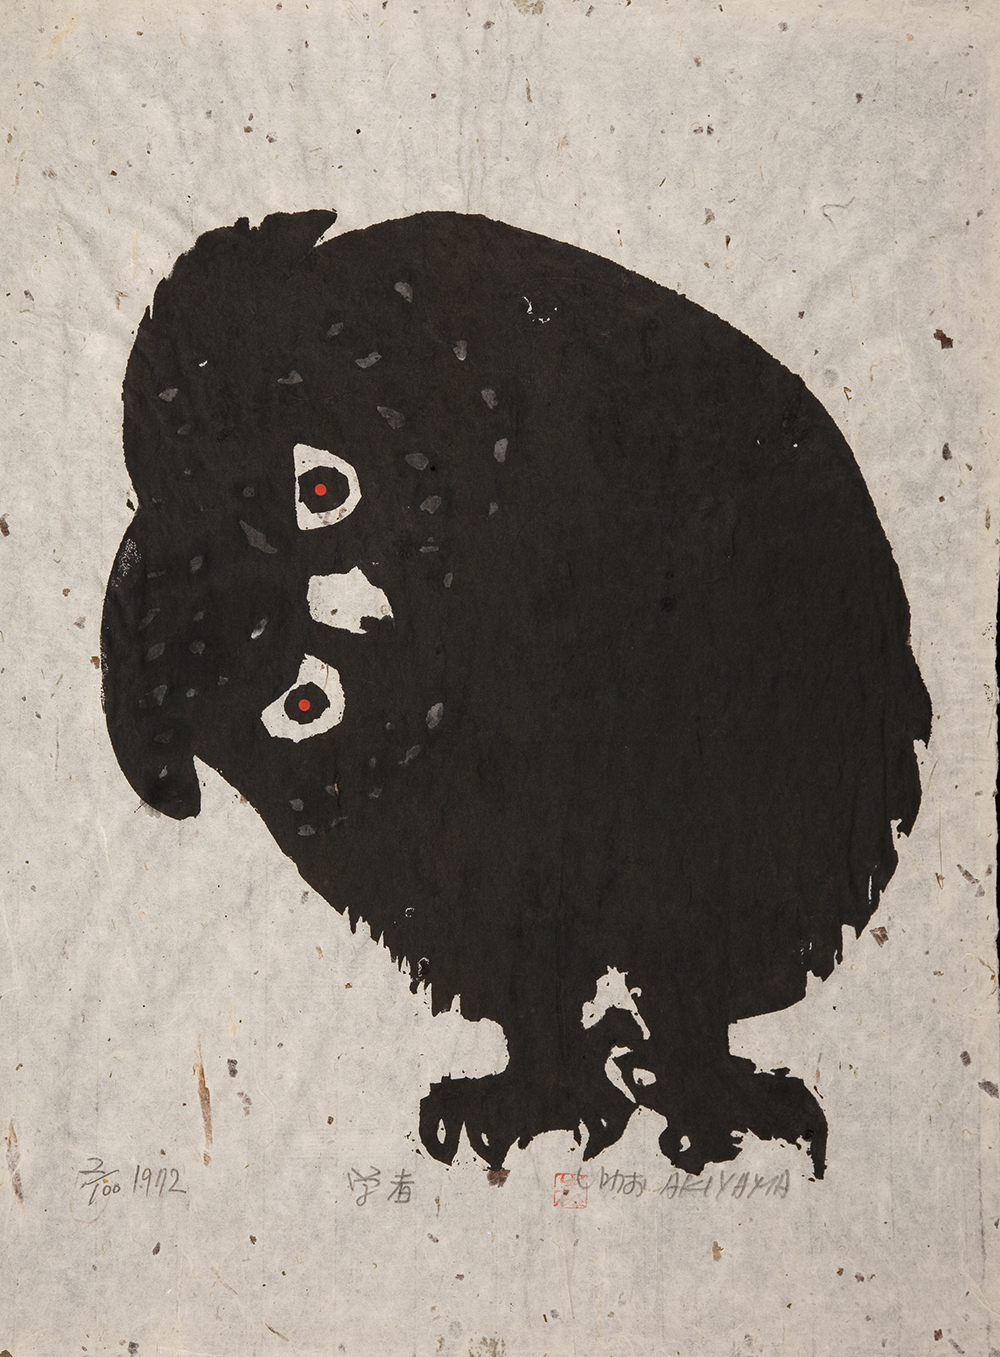
This print of an owl is titled “Wisdom.” Why do you think it has that title? Look at the owl’s expression: what other word would you use to describe it? When an object makes you think of an idea it is called a symbol. You can put a symbol on your kite too. What symbol would you use to give the impression that your kite is fast? What symbol will make you think it is higher in the sky? What will make it look strong?
Make a Kite
Let’s make and decorate a kite with materials you have at home. After you are done, you can take your kite outside on a windy day to see how it flies.
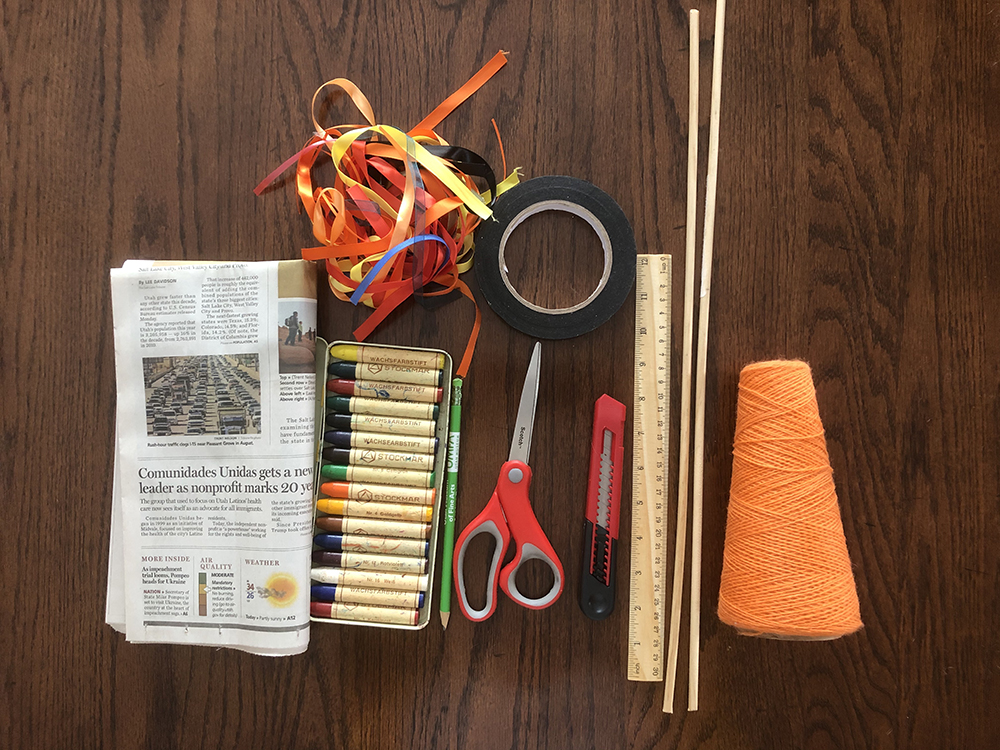
You will need:
- A full sheet of newspaper (if you don’t have newspaper, a lightweight paper will do like tissue paper, or even a garbage bag!)
- Scissors
- Pencil
- Crayons
- String
- Masking tape or packing tape
- Ruler or yardstick
- Yarn and ribbons
- Two 1/4 inch round wooden dowels (one 24 inches, one 20 inches), or if you want to make a small kite, a set of chopsticks would work
- Craft knife
Directions:
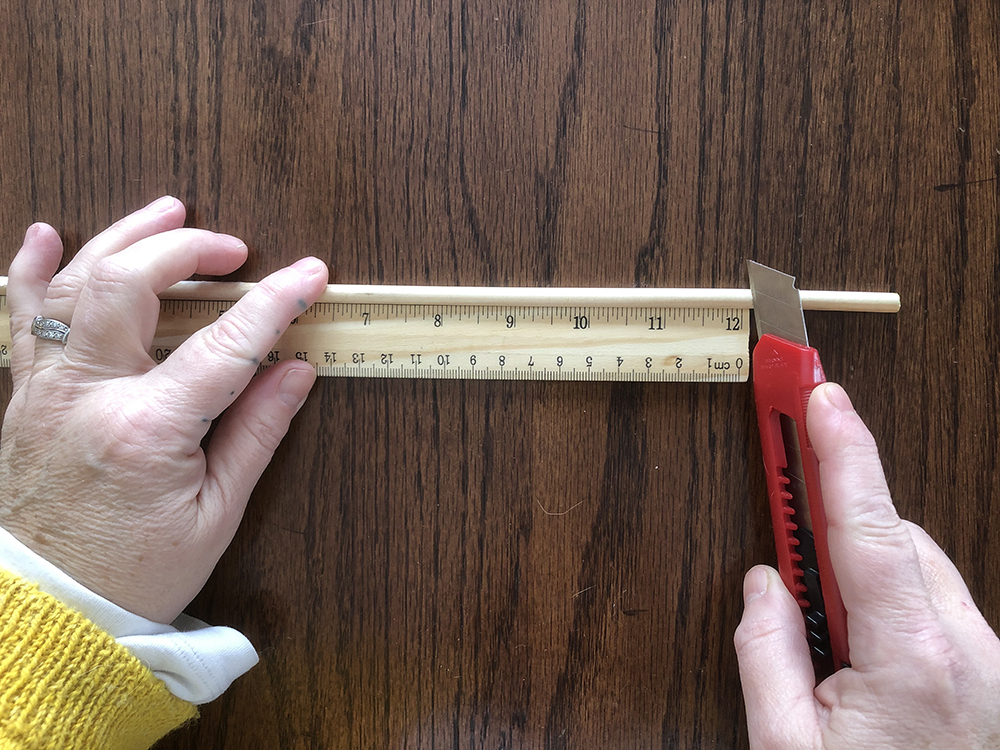
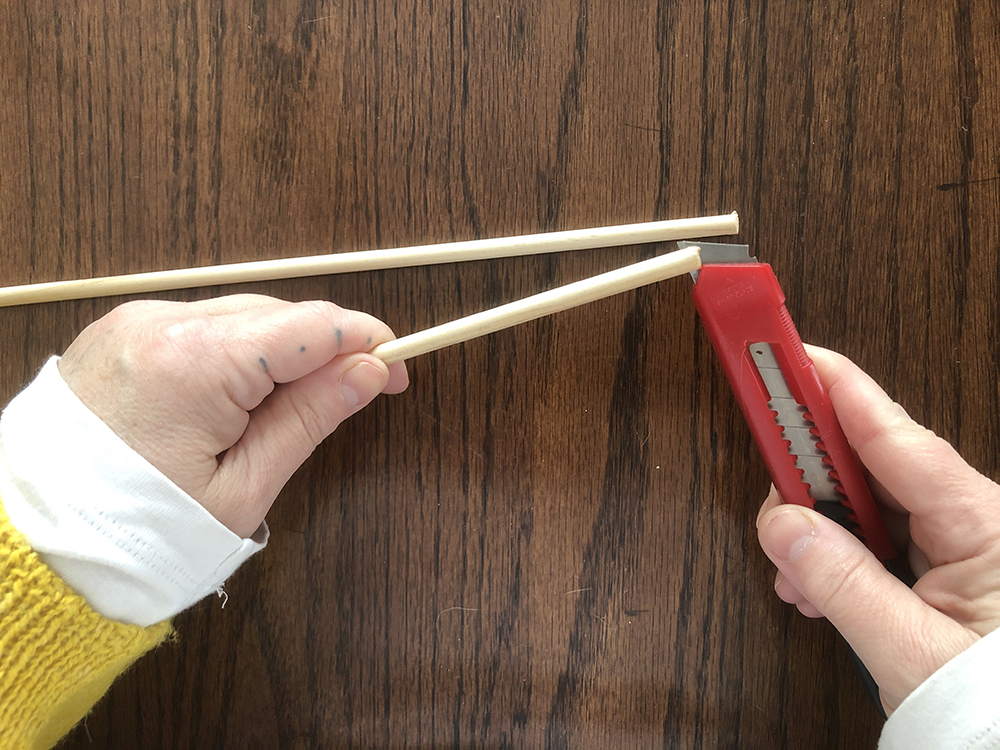
- Start by cutting your wooden dowels using the craft knife, one at 24 inches and one at 20 inches. Kids, you can help measure but if you are not used to using a knife, have your grownup help you!
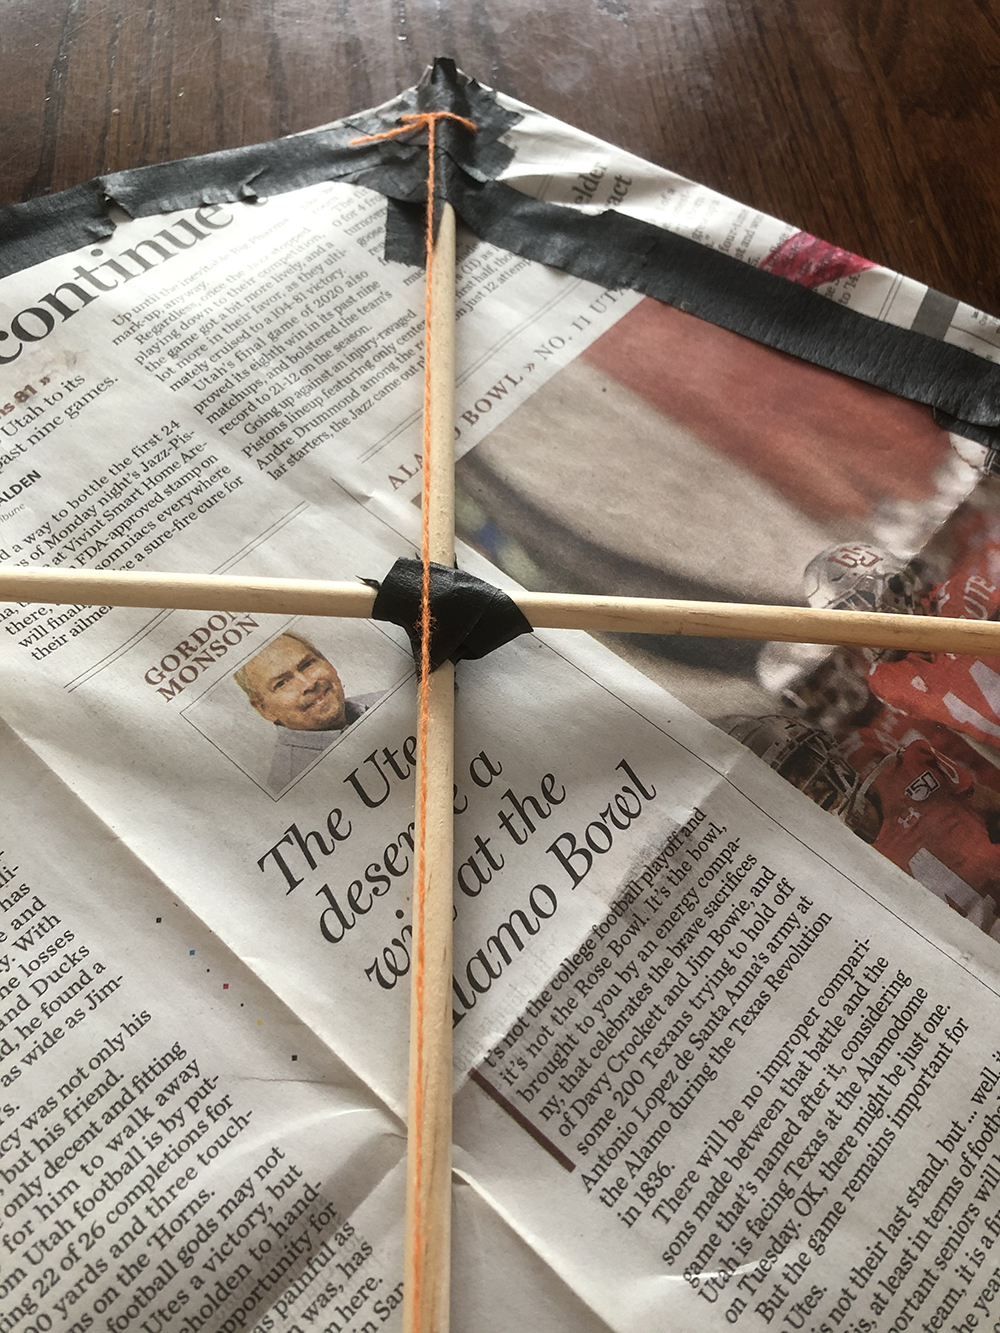
2. Use your craft knife to make notches in both ends of your two wooden dowels. Make sure the notches are going the same way on both ends of the dowel.
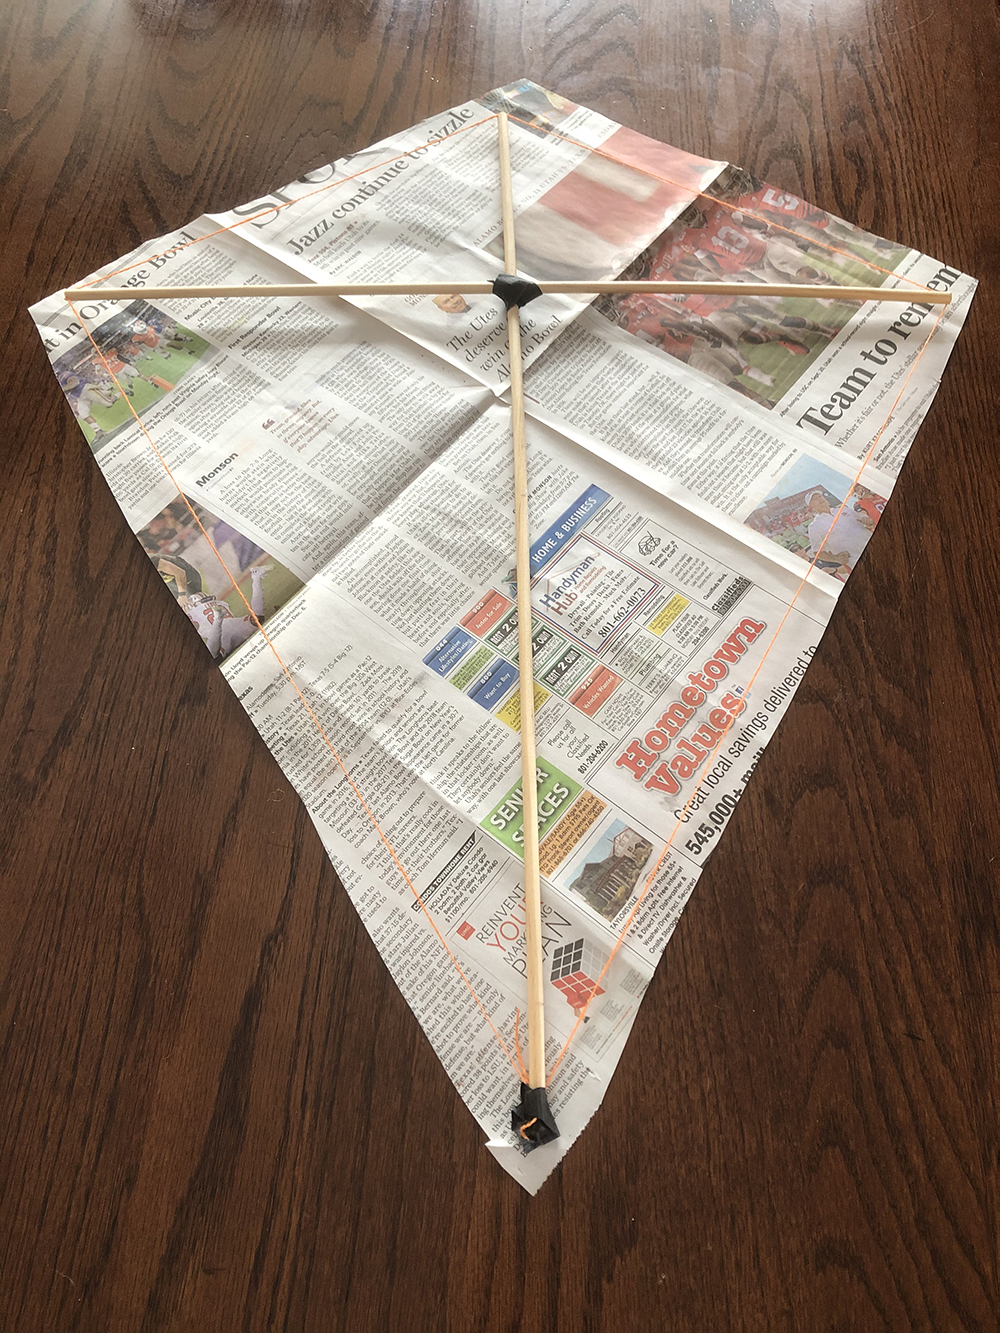
3. Lay the 24-inch dowel vertical and measure 6 inches from the top. Mark it with a pencil. Place the smaller dowel across this mark to form a ‘t’ shape. Be sure to center the smaller dowel on the larger one. Use your string to wrap the dowels together where they meet.
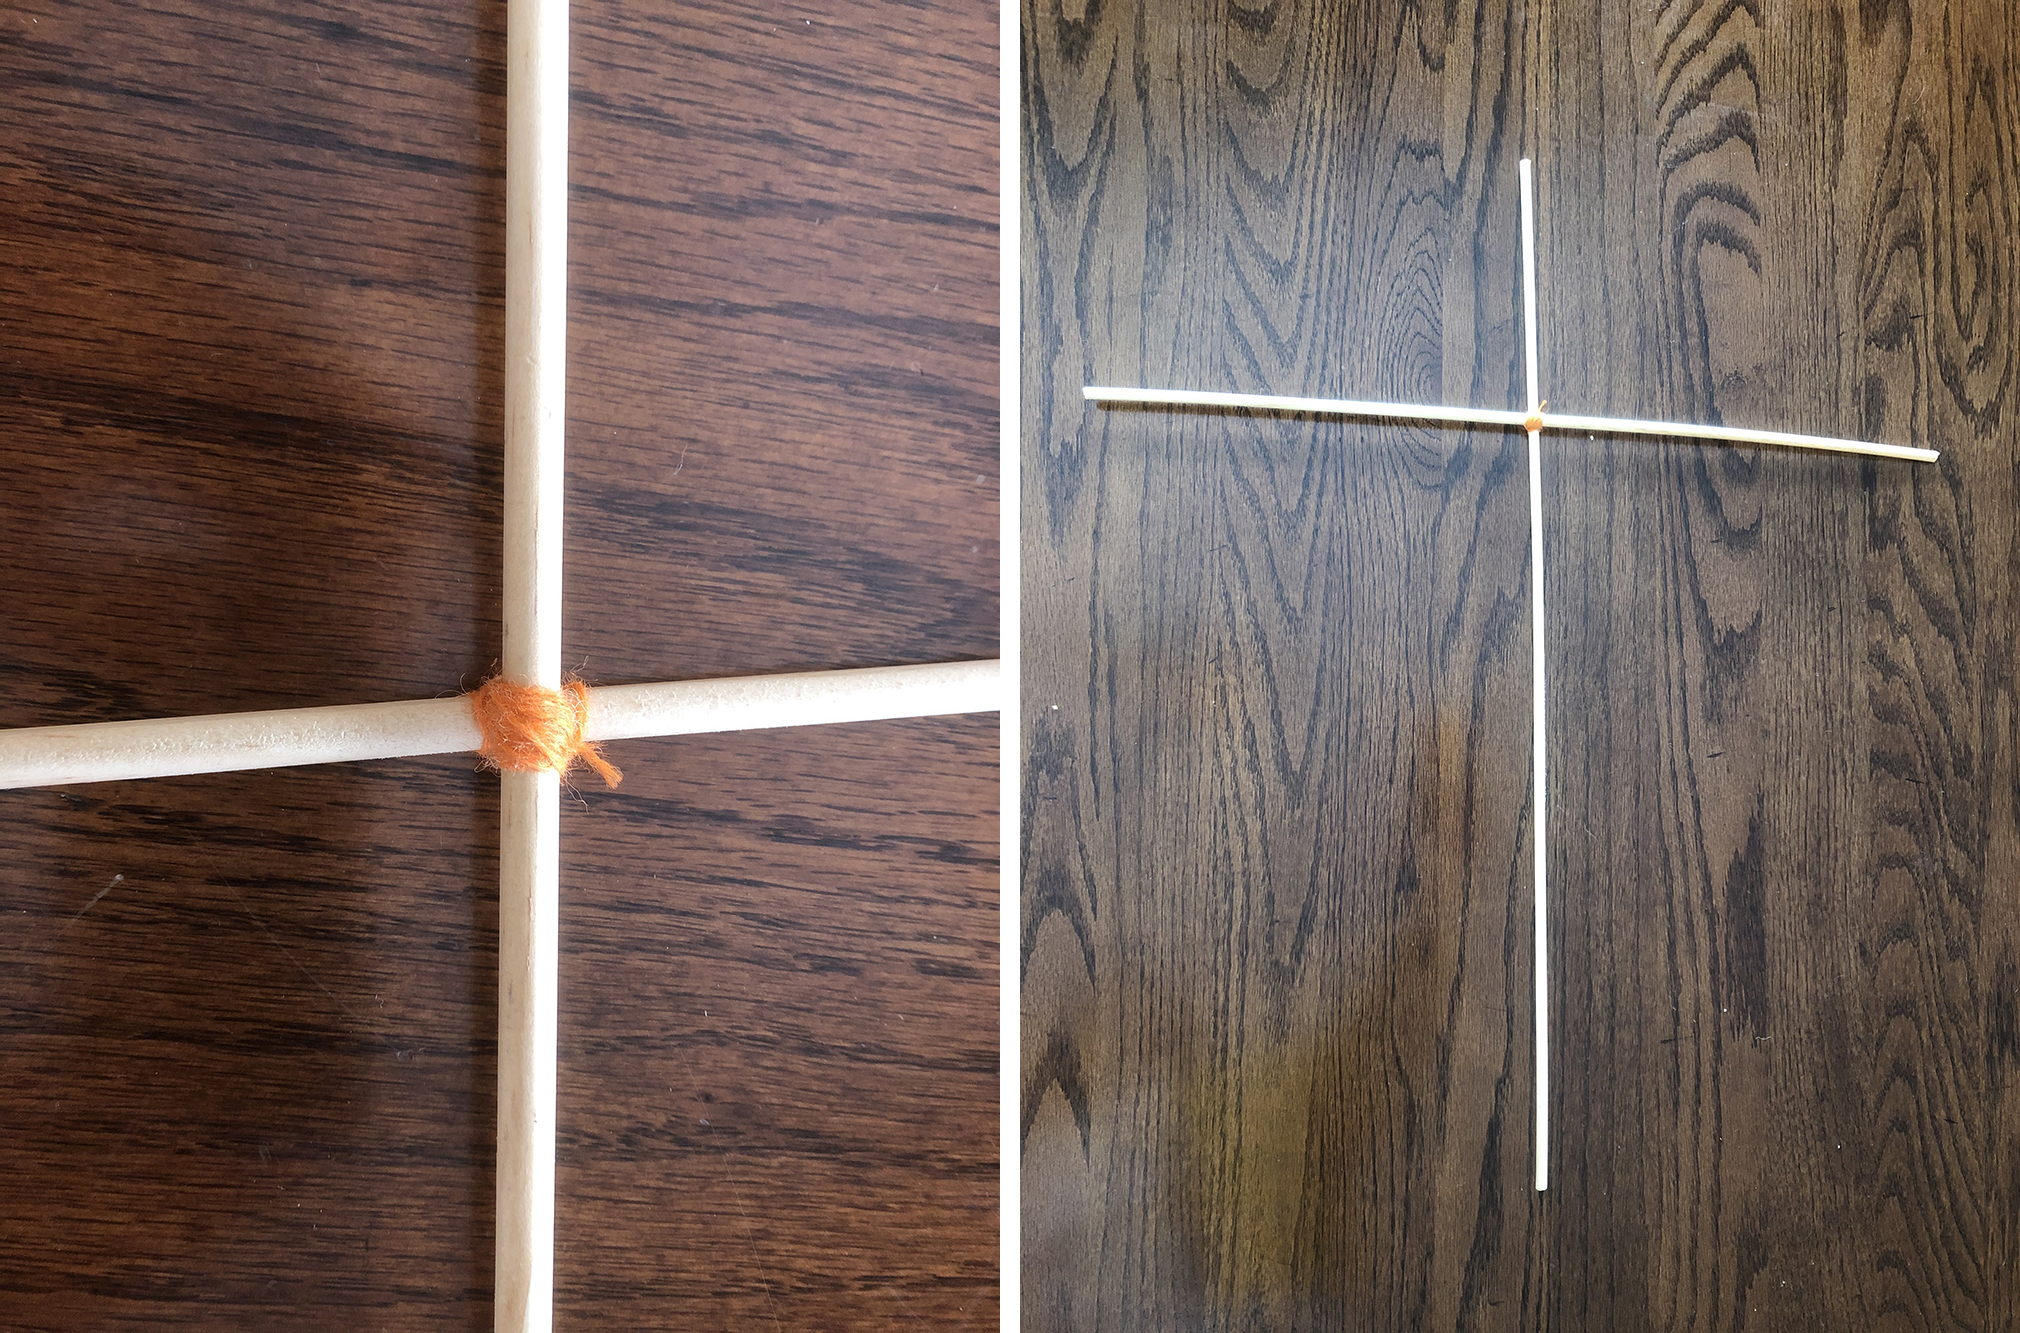
Pay attention to the notches at the end of each dowel. You’ll want them all parallel to the floor your sticks are on so that you can later wrap string around the frame.
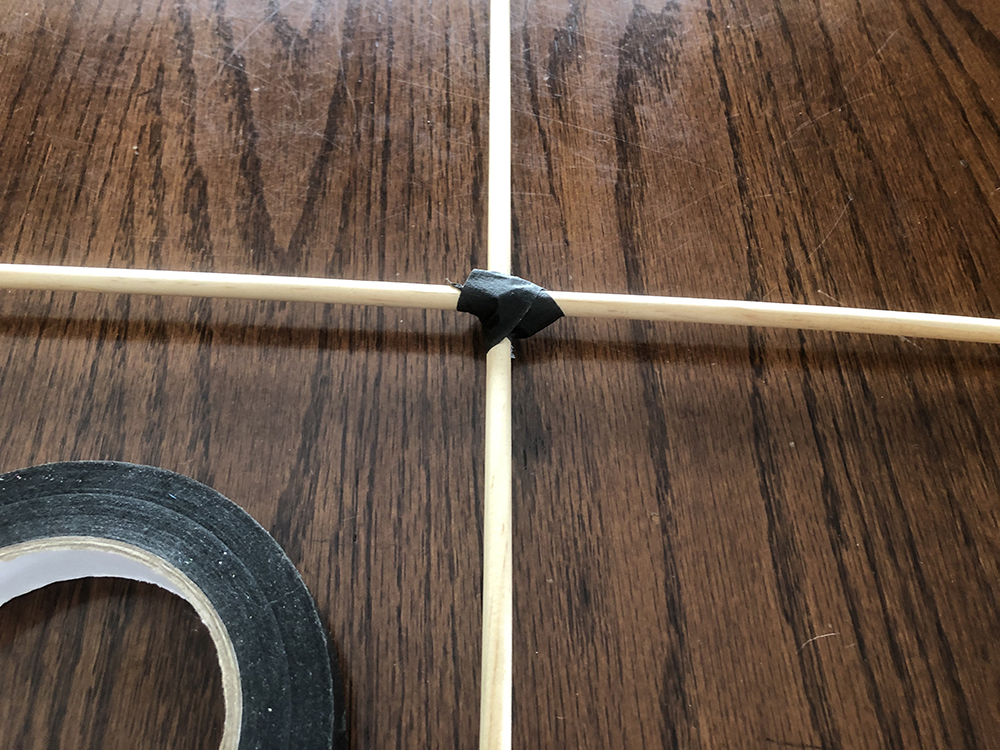
Place some masking tape over the string to secure your dowels.
4. Wrap string all the way around the kite, making sure it goes into the notches. Pull the string taut all around and tie to secure.

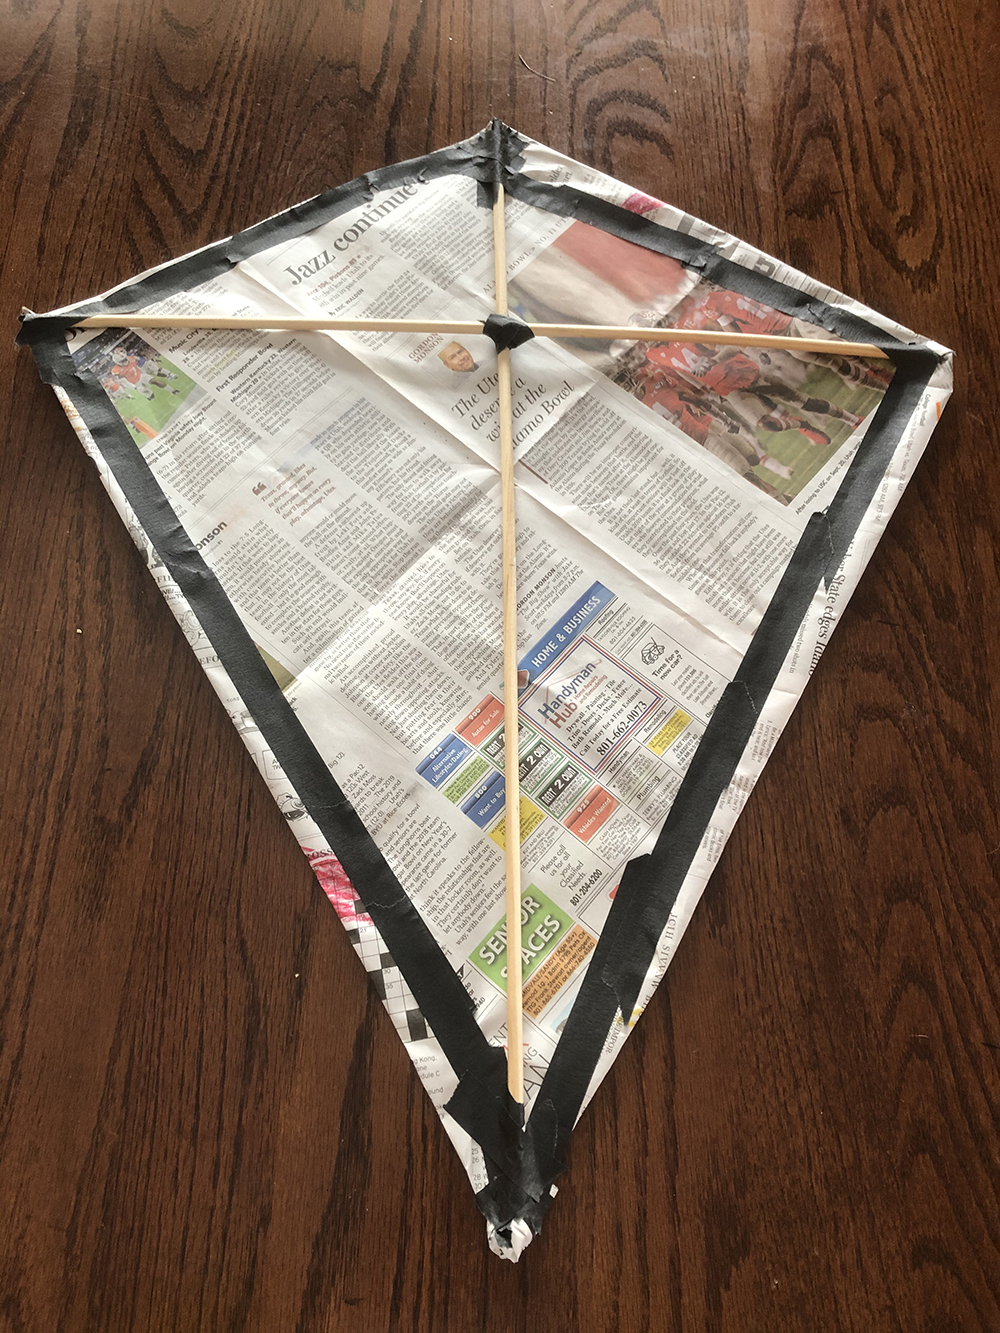
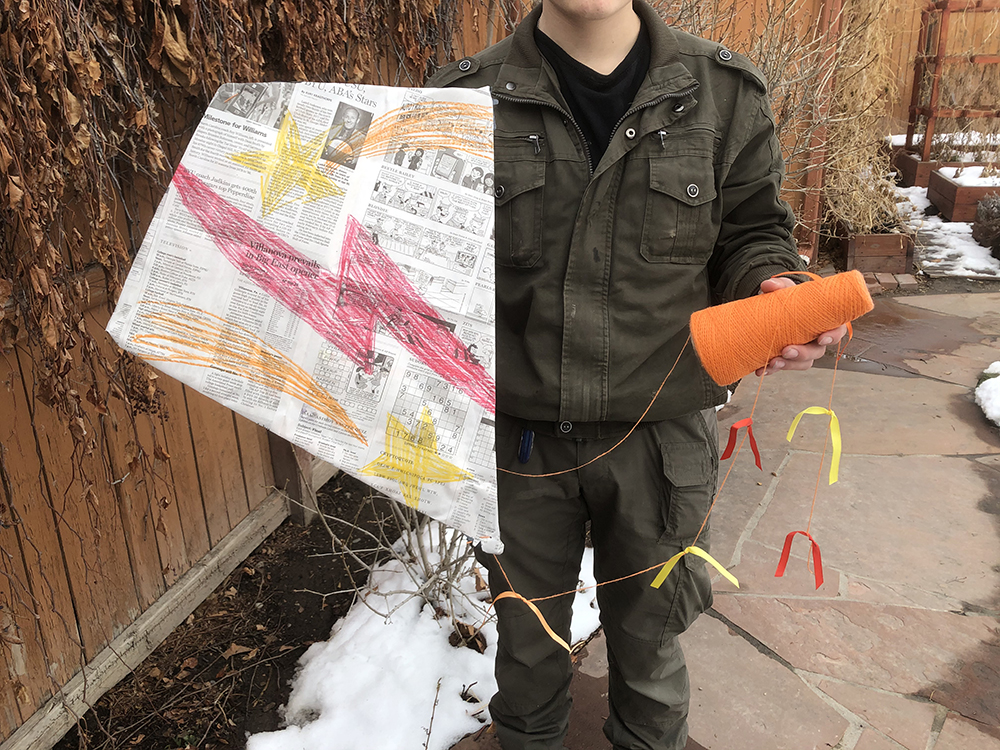
5. Now that your frame is done, it’s time to add your newspaper. Place a large sheet of newspaper on the floor. Place your frame on top of it. Cut about one inch outside the frame to make your newspaper the same shape.
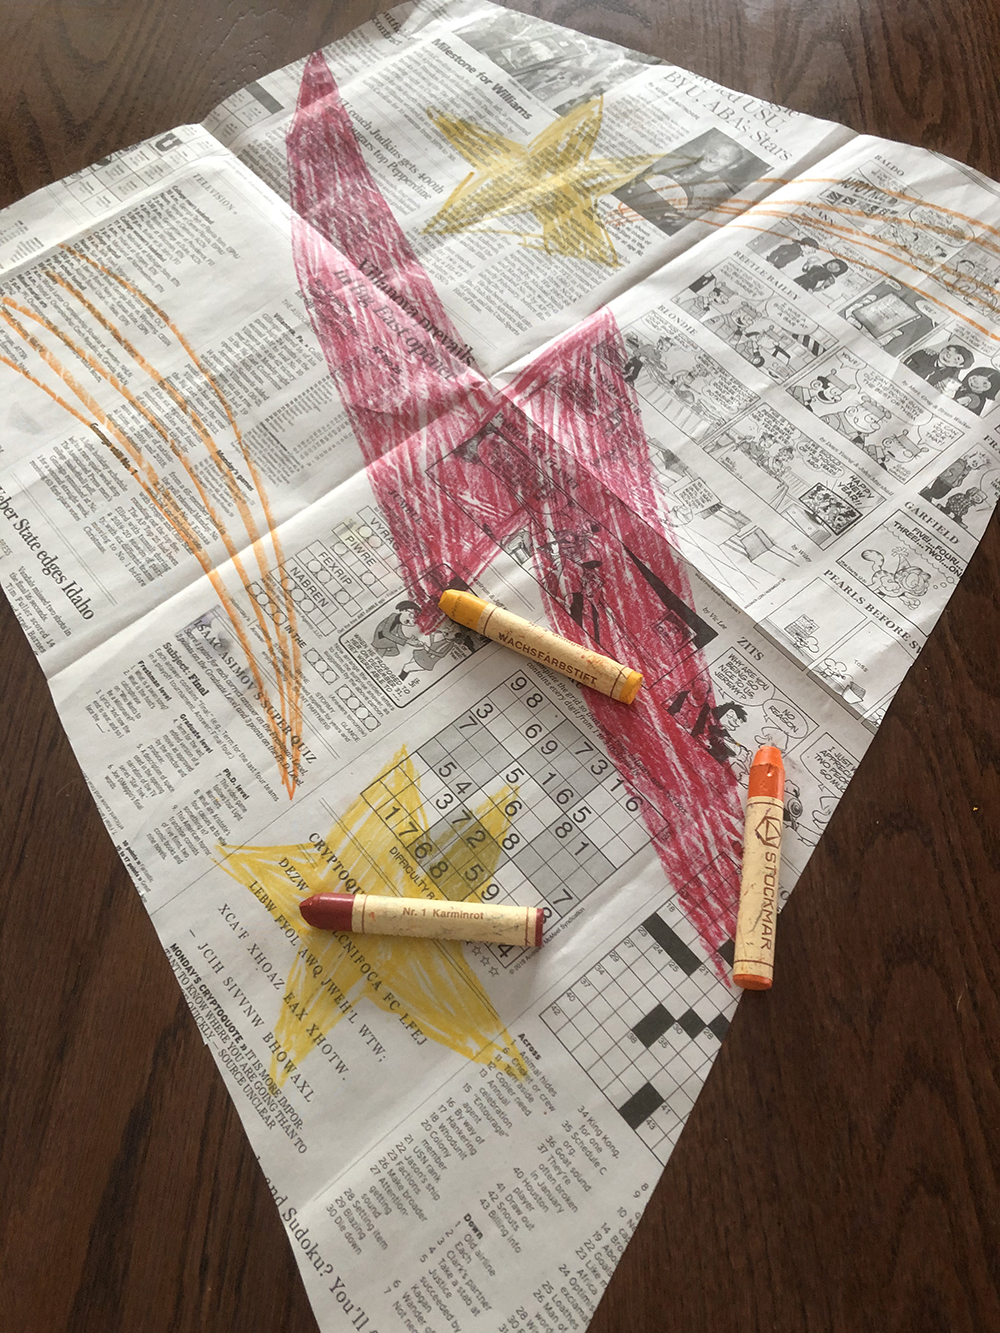
6. Before you attach the paper to the kite, let’s decorate it! Use the crayons to draw on the newspaper any design you want. Think about the inspiration from artworks we have seen today.
7. Place the kite frame on the back side of the newspaper. Fold the edges of the newspaper over the string and tape them down securely.
8. Cut a piece of string 24 inches long. Poke two holes on either side of the dowel into the top and then two holes at the bottom points of the kite. Be sure to poke holes where there is tape so they are strong enough.
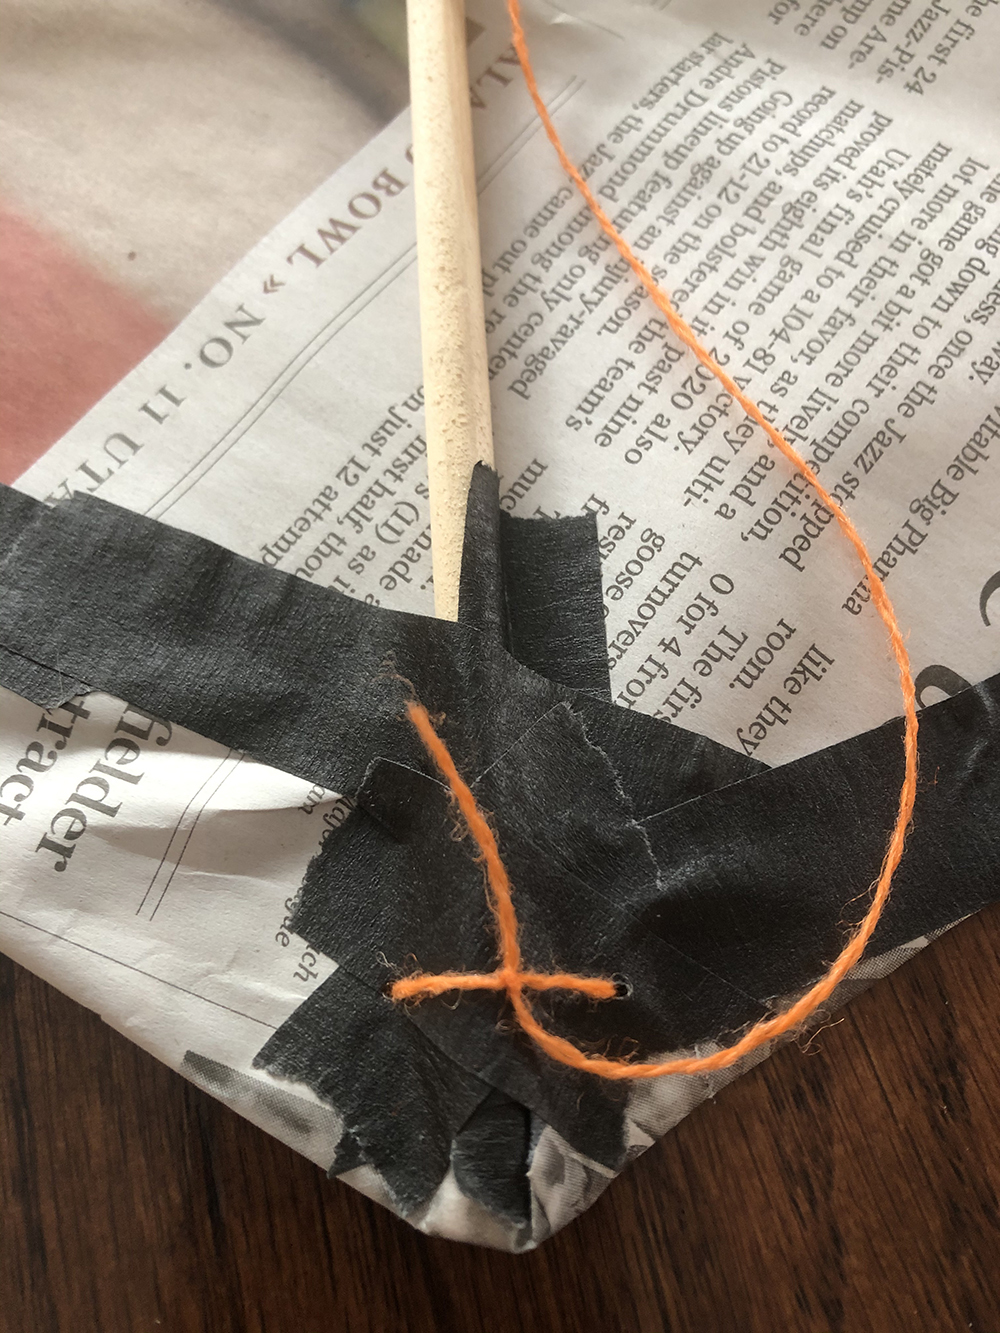
9. Tie one end of the string into the top holes and one end into the bottom holes. (Use some tape to keep it secure.) This is the brindle of your kite. Tie your flying string to this brindle string to fly your kite. Start out by tying the string about 1/3 of the way down the brindle and then adjust it as you fly your kite to get the best lift.
10. Use ribbon and string to create a tail for your kite. Secure it with tape at the bottom of your kite.

Now you're ready to fly your kite!

Third Saturdays are funded by Salt Lake County Zoo, Arts & Parks